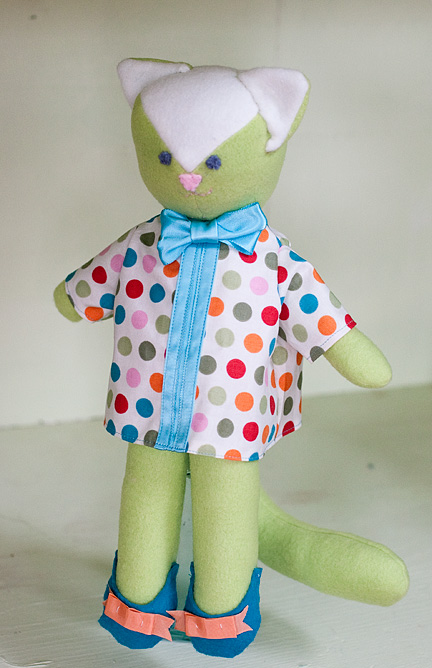
I made this kitty from the Wee Wonderfuls: 24 Toys to Sew and Love book, with some modifications, for my cousin’s baby, due to arrive in September. That white (actually pale, pale green) piece on the face is supposed to be the top of the head, and the eyes and nose are supposed to be placed much lower. But when I did that, it just looked weird. Like an alien, actually. (It doesn’t help that the pattern calls for much larger, almond shaped eyes). Maybe I stretched the head out when stuffing it, or sewed it on at a weird angle. My original eyes were gray and blue. My husband suggested that it needed some white. When I pointed out that cats’ eyes don’t have white, he reasonably enough pointed out that real cats don’t wear dresses either. Such a stickler!
So, I ripped everything off, sewed the head on at a slightly different angle and made the point of the white fabric the center of the face. I think she’s quite cute!
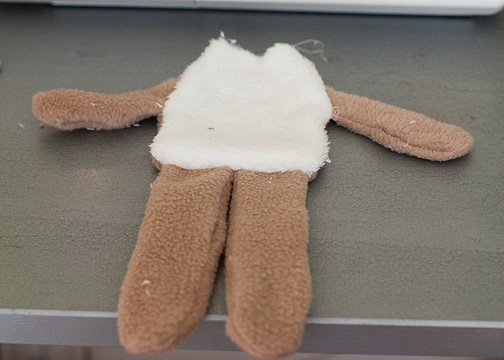
While I had the pattern out, I cut out pieces to make a second kitty, though I’m not sure I like it enough to finish. But, I did try a different way of attaching and stuffing the limbs. The book calls for making all the limbs, stuffing them, and then hand-sewing them to the body. I find that very cumbersome, and I worry that they won’t hold up to a kid yanking on them. I have a Simplicity baby doll pattern that I’ve used a bunch of times to make stuffed animals, (including the famous Huckle) and it calls for this technique:
Make the limbs, leaving the tops open, and a 1-2 inch section open along one side for stuffing later. Turn them right-side-out. Baste the arms to right side of the belly/front piece.
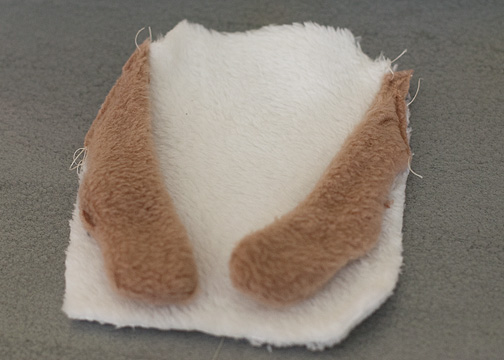
Pin the back piece, right side down, onto the front piece (if the body is big enough, you can do the legs at the same time in the previous step, but since this pattern had a small body and large limbs, I did it in two stages). Sew along each side of the body, leaving the top (neck) and bottom (where the legs will go) open.
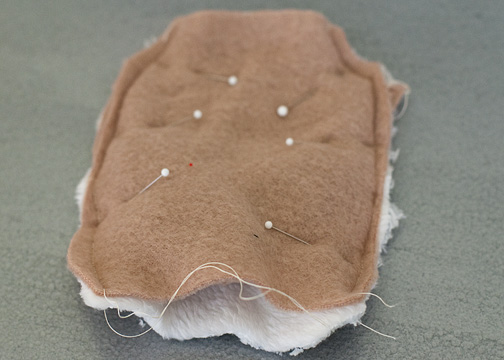
Pull the ends of the arms through the neck to give yourself a bit more room in between the body pieces. Pin tops of the legs to the bottom of the belly piece, with the legs pointing into the body, in between the belly and back pieces. Sew across the bottom.
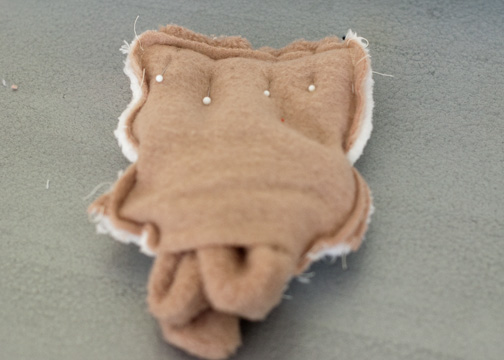
Pull everything through the neck, and Voila! the limbs are securely sewed onto the body. You can then stuff them and the only hand-sewing needed is to close up the small openings in the side seams.
(You still have to sew the head on by hand).


I have never heard of hand-stitching arms and legs onto a sewn toy, unless they are meant to be moveable (like on a teddy bear). Good thing you knew the alternate technique!
I love the bows on the cat’s shoes and shirt.
I love this alternate technique and chapter 5 in my forthcoming book on toy design shows how to design patterns with these kinds of openings. They are great because they are strong (machine sewn) and neat.
Great info about sewing up the little dolls. Thanks for sharing!