|
|
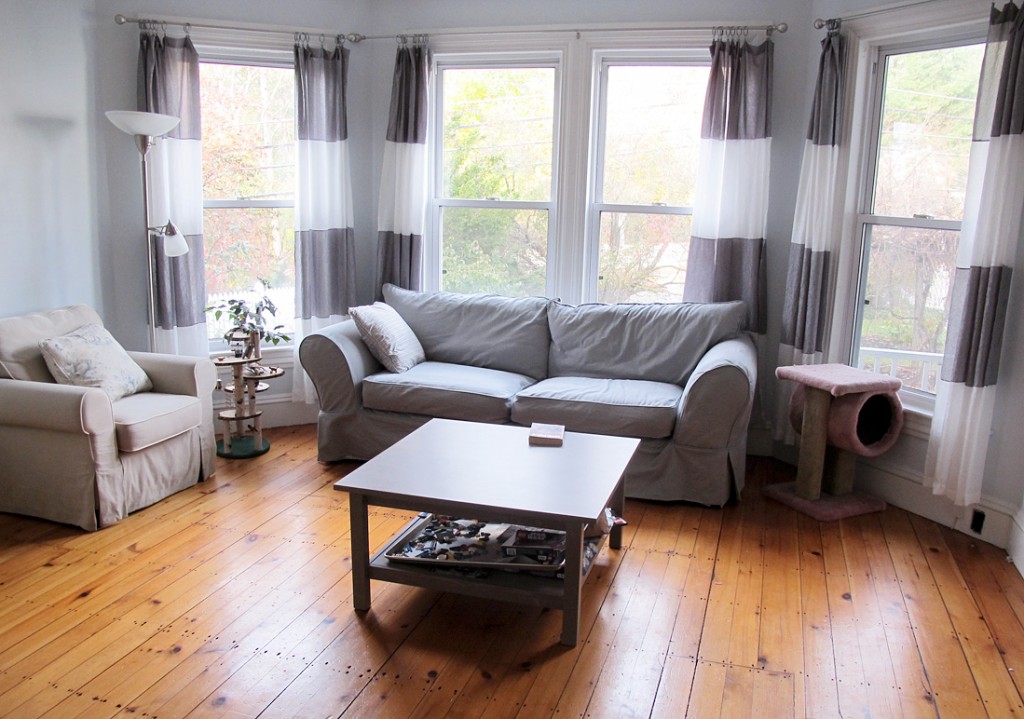
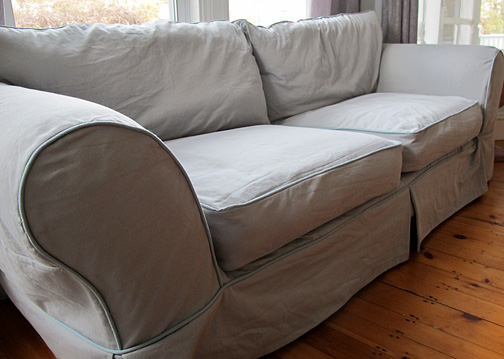
It’s been almost a year since we painted our living room, and I just now finished the slipcover for the couch. I bought the fabric in January, and I think I started working on it in June. There was nothing enjoyable about this project, though I am quite happy with the results. My co-worker lent me an old book (Simplicity’s “Simply the Best Home Decorating Book) that includes pretty detailed instructions on making a slipcover, so it wasn’t confusing, just cumbersome to deal with so much heavy fabric. I ended up using clothesline from Home Depot to make the piping since it was cheaper than buying piping cord at the fabric store, and I’m really glad I did. The extra-thick piping looks really nice, much better than the pre-made stuff, although it took quite a while to make what seemed like miles of piping. I had great plans to finish all the seams with my serger, until about half-way through when the serger came unthreaded and then after days fiddling with it to get it threaded again, the needle broke and I had to order more. By the time that arrived, I had moved on.
I still have to make covers for a large “chair-and-a-half” and a smaller chair, though I’m not sure whether I will do one of them the same as the sofa and the other blue with gray piping.
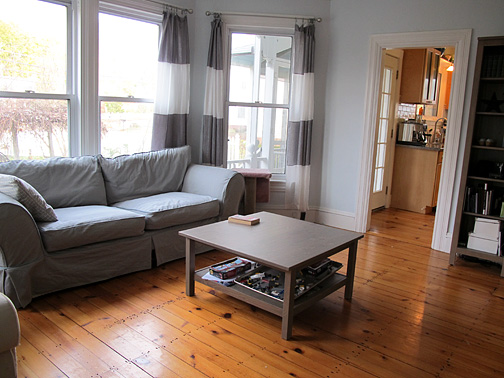
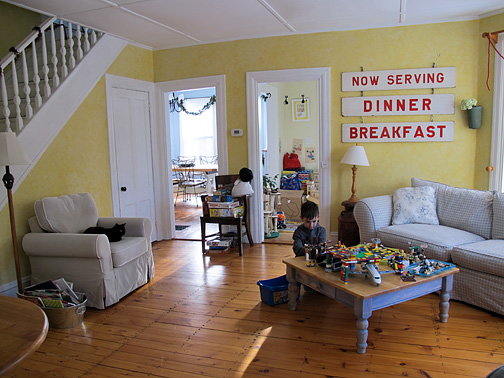
For now, I need some advice! What color/colors would you use for accent pillows? I had wanted the room to be a pale blueish gray, but it ended up being much more BLUE than I thought it would. The curtains are silver/gray and white (cheap curtains from Overstock.com… I bought white and silver, and then cut them apart and sewed them back together to make the stripes). The other furniture in the room is a a gray-ish wood tone (IKEA bookcase and coffee table). I do like yellow and gray, but I’m also thinking red or orange. Or would you keep it neutral? Any fabric recommendations?
Here’s what the room used to look like. Very cheerful, but a bit more country than I prefer now. I wouldn’t say I want a totally modern room, but something in between.
After all that, we FORGOT to bring Parker’s mummy hood/hat with us when we went trick-or-treating in a friend’s neighborhood tonight (he did have the full costume for his school parade and our FIRST trick-or-treat outing Friday night, when the downtown shops welcome kids). But, I offered him my black neck warmer and my husband’s black hat, and PRESTO! “Half ninja/Half mummy!” and he was fine. Whew.
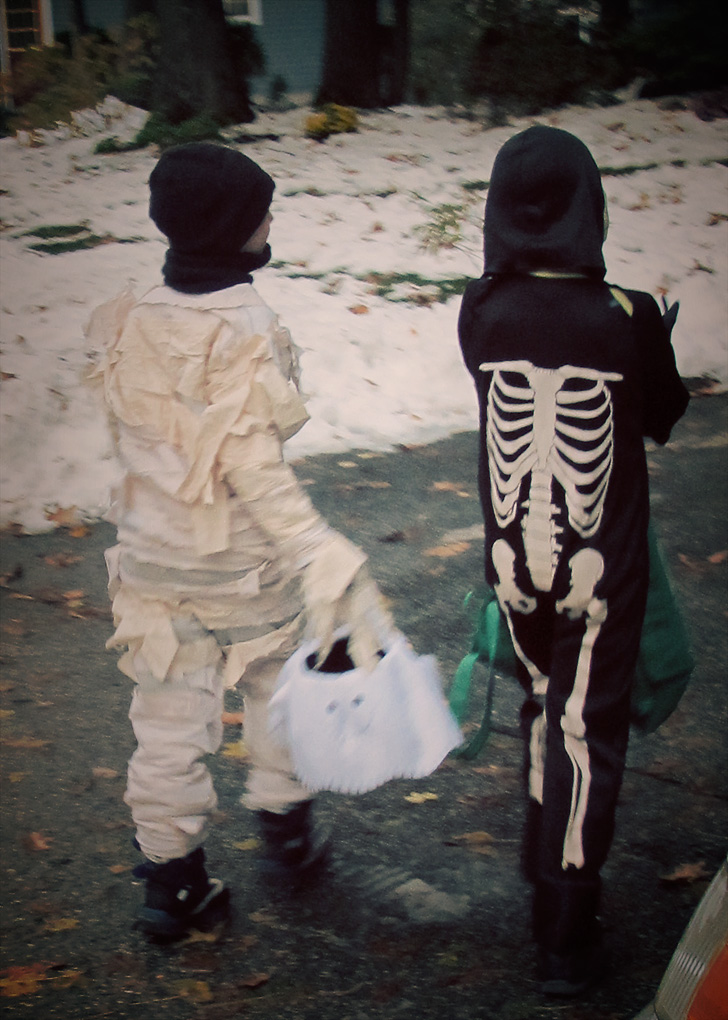
Despite the EIGHTEEN INCHES OF SNOW we got on Saturday night, it was surprisingly warm tonight for trick-or-treating. But it looks so much like Christmas outside that I’m feeling stressed, like I need to finish all my Christmas crafts this weekend.
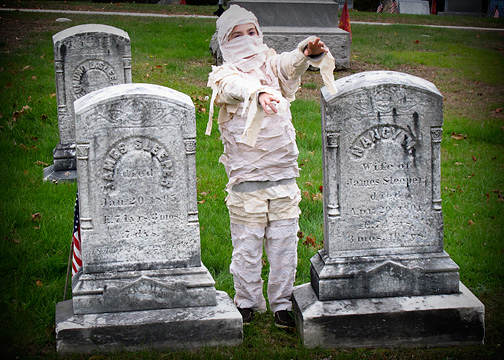
We seemed to be in a bit of a downward spiral last weekend as I worked to finish Parker’s Halloween costume. After telling me he wanted to be a mummy, he started saying he didn’t want to wear his costume to his school party because everyone would laugh at him “and think it was toilet paper.” When I asked him to try on part of his costume, he said, “Maybe you can cut off the loose bits and I can be a white Ninja instead.” So I was not in a particularly good mood as I spent a few more hours sewing the strips of fabric onto his sweatshirt, and I’d really had it by the time I finished and he balked at putting it on to take a picture.
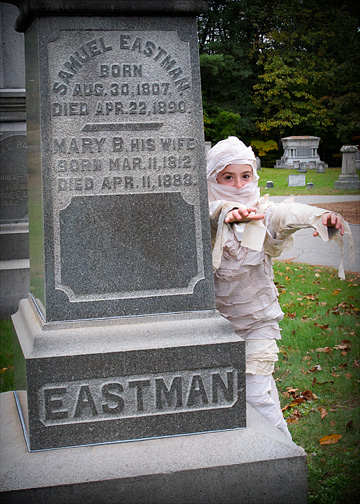
BUT, when I said “You’re lucky I’m not making you go to the cemetery to take pictures,” he turned right around. He wanted to go to the cemetery! And immediately put on his costume and started walking around with his arms out, moaning in what I guess he thought a mummy would sound like. Crisis averted! Happy mummy and Mommy!
I knew I couldn’t just wrap him in guaze or strips of fabric because he needed a costume he could get on and off at school and again for trick-or-treating. I followed a very similar process as the tutorial here by Melissa at The Polka Dot Chair, except I ripped my fabric (muslin) into strips first, and then tea-dyed it.
I had to get more fabric after running out, so I had two batches of fabric. I couldn’t tell the difference at all inside, but as soon as we went outside it was very clear that some strips were a totally different color. Oh well.
He really wanted his face to be mostly covered, but I wanted to make sure he could talk/eat, so I made a hood/Balaclava-type thing using this free pattern. I used an old white t-shirt, and covered the finished hood with strips of muslin. There are two strips that go across the lower part of his face. Those are sewn on one side, and held in place with a strip of velcro on the other side, so he can un-do that flap/mask to eat or talk.
Overall, I’m happy with it, and HE’S happy with it, though it did take a lot longer than I thought it would to sew all those strips in place. (I added a few more strips around the waist after taking these pictures, after noticing that a few inches of gray sweatpants were still showing). This is what he told me to write about our photo session:
“Mummy Haunts Local Cemetery. AP Reporter Stunned by Sight.”
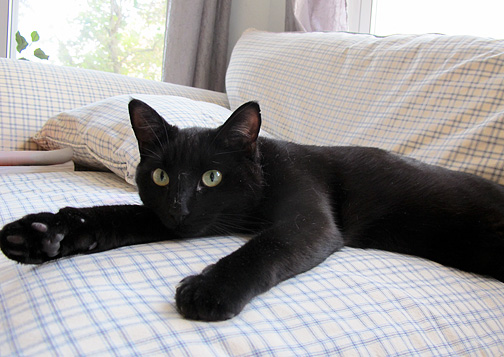
Now that it’s been a year since we took in our black cat, Herbie, we definitely believe black cats are GOOD luck. He is so sweet and affectionate, and silly. (He likes jump in the tub when we’re filling it up to drink the water, and will stay in there until the water gets all the way up to his belly if we let him). So in honor of Herbie and Halloween, here are two black cat craft projects:
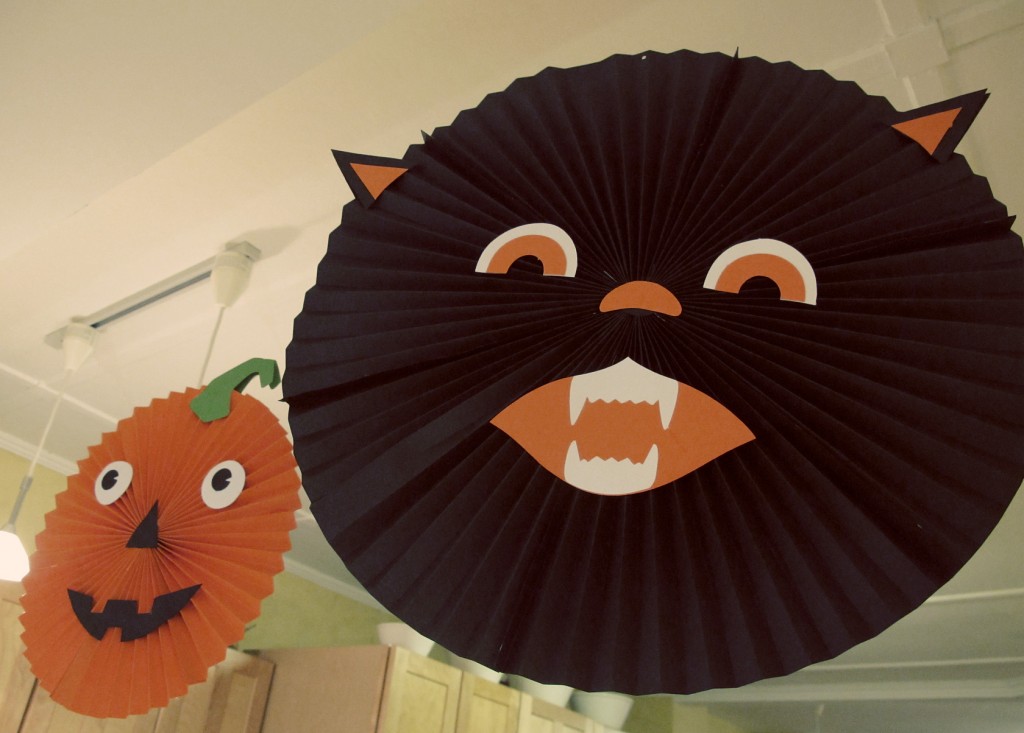
First, I tried these “Halloween Hang-ups” from Martha Stewart’s website. I knew from past experience that I’m horrible at making accordion folds evenly, so this time, I used my Silhouette machine to score the paper. It worked great! I just used the Silhouette software to make a cutting file of evenly spaced lines, and then set it on a very shallow cutting setting (I think I used the copy paper setting). So when I put the cardstock through the machine, it didn’t cut all the way through. From putting the paper in the machine to having a completely folded sheet took under 3 minutes per sheet.
That said, putting the actual circles together was a bit tricky. The smaller, pumpkin design uses 3 sheets of paper. (you’re supposed to fold them in half after accordion folding them, but my cardstock was thick and it didn’t look good, so I just cut the pages in half). The cat design uses six sheets of paper. It is almost 18″ across and that’s the MEDIUM size. I didn’t make the large size, which uses 11 sheets of paper. Getting the connected papers into a circle shape wasn’t hard, but I had to glue cardstock rounds in the center to keep it together in the center. Which involved trying to hold it together with one hand and applying hot glue with the other.
I had to buy several packs of cardstock with a bunch of other colors to get enough orange sheets, but the packs were on sale at Jo-Ann’s for $1.99 for 50 sheets. I used the Silhouette to cut out the cat and pumpkin faces as well. I think these would look great as party decorations… they look a little odd just hanging out in my kitchen. But now I’m trying to think of other accordion fold paper projects to do now that I know it is so easy with the Silhouette!
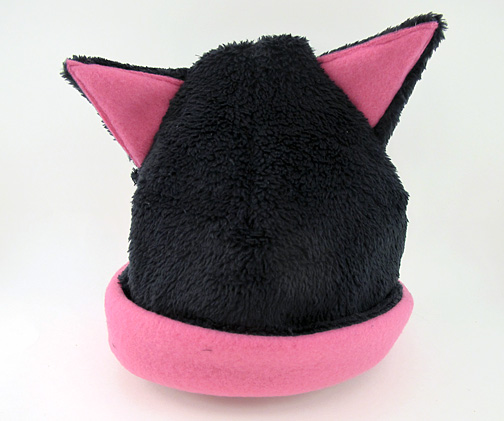
My other black cat project was a gift for my co-worker’s daughter, who just turned four and is going to be a cat for Halloween. She probably already has a costume, but just in case it is really cold (as it often is), she might like this hat for trick-or-treating. This hat actually started out as a stenciled t-shirt. Really! I picked up some orange t-shirts thinking I would make her a little Halloween-themed shirt with her name on it, but I made the mistake of buying an extra one for Parker. And then I accidentally stenciled HIS name on her shirt. I tried to salvage it by cutting off the bottom of the shirt (with the name on it) and attaching more fabric to make a little dress, but it looked strange. So then I decided to make this hat, which was quite easy. Except for when I sewed one of the ears on backwards. Sigh. So much for quick, handmade gifts.
I’m covering all my holiday bases these days_ making Christmas presents that look more appropriate for Thanksgiving, and getting ready for Halloween. (My husband is on a similarly scrambled schedule _ the AP test kitchen has been testing turkey recipes this week, along with Christmas cookies).
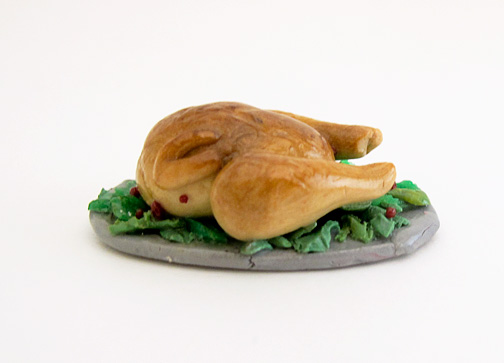
First, I decided that I’m just not up for sewing more Barbie clothes for my niece. I’m going to make her a bunch of polymer clay food for her dollhouse instead, since I have a lot of clay leftover from making the polymer clay food charms from years past. Those charms were a bit larger than what I gather is the 1:12 scale used for dollhouses, so I searched online and found a ton of tutorials (many on YouTube) on how to make various dollhouse food items.
My first project was this Thanksgiving turkey. (I should have added a coin for reference. The platter is about 1.5″ long)
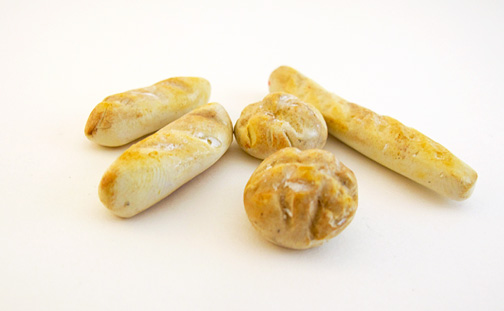
And some bread, using this tutorial by Betsy Niederer. (Mine looks pretty good, but hers are AMAZING).
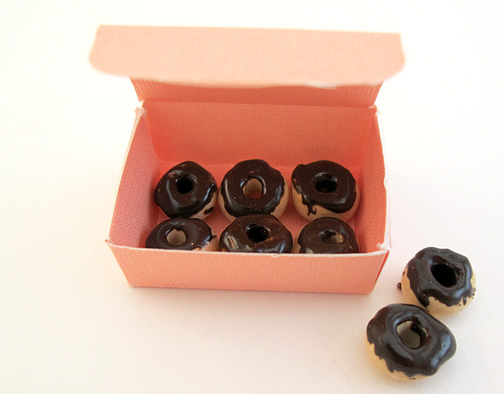
And a few donuts. These were kind of rushed, so I want to make some more and do a better job with the chocolate glaze, and add some sprinkles, etc. I made the box with my Silhouette machine, just shrinking down one of the box patterns and setting the cut settings very low, so the cardstock was just scored instead of cut.
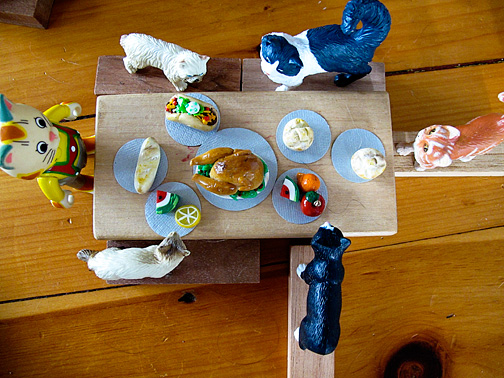
I made a turkey for my son, as well, and he quickly appropriated the bread and donuts for his “cat tree house.” I’ll definitely have to make him more. Just these few items were enough to spur several hours worth of quiet play! We made little plates out of silver cardstock and set up a rather fancy feast for all his little cat figures.
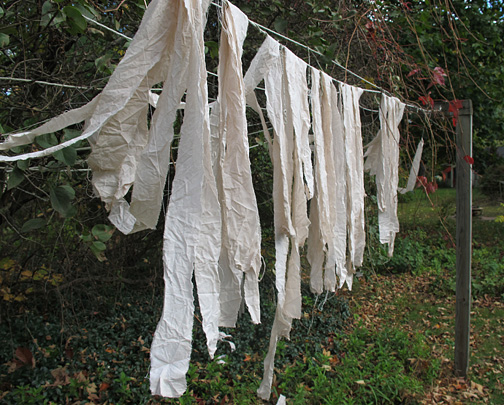
As for Halloween… I started making Parker’s mummy costume by ripping up some muslin into strips and tea dyeing it. My plan is to sew the strips to sweatpants and a sweatshirt. Though yesterday he informed me that he does not want to go to his school party because he’s worried the kids will think he’s wearing toilet paper. Sigh.
I was happy to see that Sweet Pea and Pumkins was hosting a sew-a-long to make the Traveler Dress from the Sew Lisette pattern line, since I bought the pattern ages ago when it was on sale, along with the fabric. Even though I didn’t keep up with the sew-a-long, it still motivated me to actually make my dress, and now I just wish I had done so sooner. Cold weather has arrived, and I think this week was probably the only time I could wear it with bare legs… time to shop around for some cute boots!
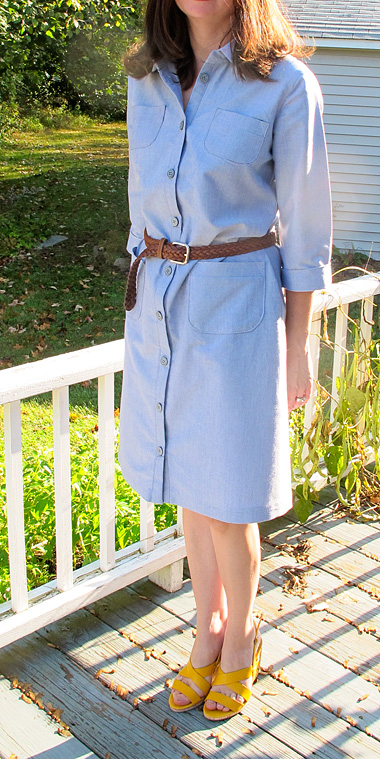 I really love this dress, even though I somehow managed to get the lower pockets a bit uneven (or maybe my hips are uneven?) I made a mistake with the pockets when doing the initial pressing and sewing but I ended up liking how they came out. My only complaint is that there is a bit of excess fabric around the waist, mostly in the back. So I’m debating whether to take in the sides a bit or try to add darts to the back. I made a size 8, because while the Sew Lisette Market top I made earlier in the summer fits well, it does feel a bit tight in the arms in a size 6. The top part of this dress is just right. I really love this dress, even though I somehow managed to get the lower pockets a bit uneven (or maybe my hips are uneven?) I made a mistake with the pockets when doing the initial pressing and sewing but I ended up liking how they came out. My only complaint is that there is a bit of excess fabric around the waist, mostly in the back. So I’m debating whether to take in the sides a bit or try to add darts to the back. I made a size 8, because while the Sew Lisette Market top I made earlier in the summer fits well, it does feel a bit tight in the arms in a size 6. The top part of this dress is just right.
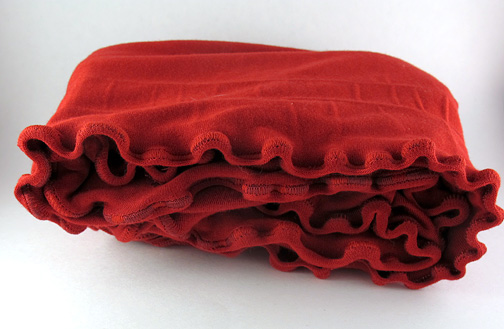
My birthday was Tuesday, but I won’t get to see my twin sister until today, so I’m extending the celebration a bit. For part of her gift, I made her an infinity scarf using the ruffled scarf tutorial by Terra at Mama Says Sew, with a few modifications. The fabric is some kind of jersey knit that I got in the remnant bin at Jo-Ann’s.
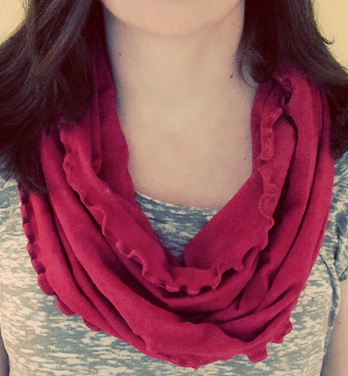
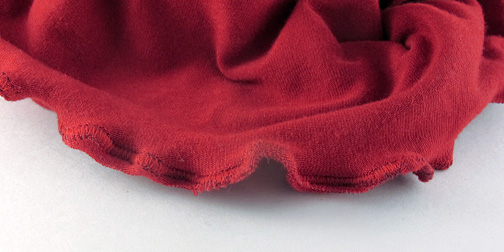
I tried and tried to create the wavy “lettuce edge” using my serger (a very old one I bought at a yard sale a while back), but no matter what I tried, it would not work. The tutorial above calls for just using a regular sewing machine. You put two long strips of fabric together and sew along the long sides using a zigzag stitch and stretching the fabric as you go to get the wavy lettuce edge. That’s how I did one edge of the scarf, but I wasn’t thrilled with how I ended with either little bits messy thread where I let the stitch veer too far off the edge, or excess fabric where I didn’t go close enough.
Like this:
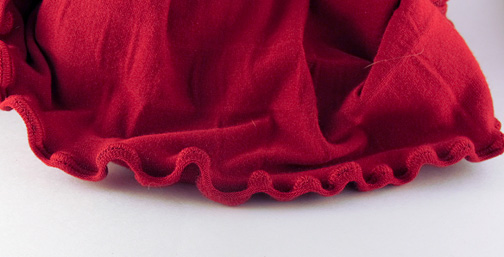
For the other long edge, I tried something slightly different, and I like it a lot better. I folded the bottom fabric around the edge of the top fabric (which was easy to do without pinning because the fabric wants to curl anyway), and then zigzagged (using a very tight satin stitch) over that, so the stitch covered up the raw edge. So what I ended up with was a nice, smooth, folded edge held down by a satin stitch. It makes the edge a bit bulkier, but I like how it turned out. The only trouble I had was making sure I was pulling from the front of the fabric and back of the fabric with equal pressure… if you pull too hard from the back, you won’t get nice, satin stitches.
That’s better:
To connect the two ends of the scarf to make one big tube/ring, the tutorial calls for hand-sewing. Instead, I used the same technique I used in making the dozens and dozens of fleece neck gaiters I made last Christmas, which is much quicker.
I’m definitely going to make a ruffled scarf for myself, and maybe more for Christmas gifts. They are not quite as quick as the fleece neck gaiters because you have to sew pretty slow to keep the fabric stretched, but really, it is just two long seams.
I’m linking this post to the “Pin-Did Challenge” at The Modern Marigold. She’s challenging readers to actually make something they’ve pinned on Pinterest each week.
In addition to his main blog and his Food Network blog posts, my husband also has a blog featuring a photo what he packs our son for lunch every day. Granted, he does not have much time for food styling and photography, but I’ve long felt the photos could be better, so I decided to make him a light box/tent. I used this tutorial, but instead of using fabric to cover the sides, I used the same translucent drafting paper I used to make the light sabers for my son’s recent party. Unfortunately, the box turned out to be too small to hold the lunch box and accessories, so I’ll have to make him another one.
In the meantime, I tried out the smaller version on this Puzzle Ball I made from Last Minute Patchwork and Quilted Gifts. This will be a gift for a friend’s soon-to-be-born baby boy. This picture was taken at night, with no flash, and with two lights (cheap clip-on lights from IKEA) pointed at either side of the box. I adjusted the white balance in Photoshop, but otherwise, it looked pretty good!
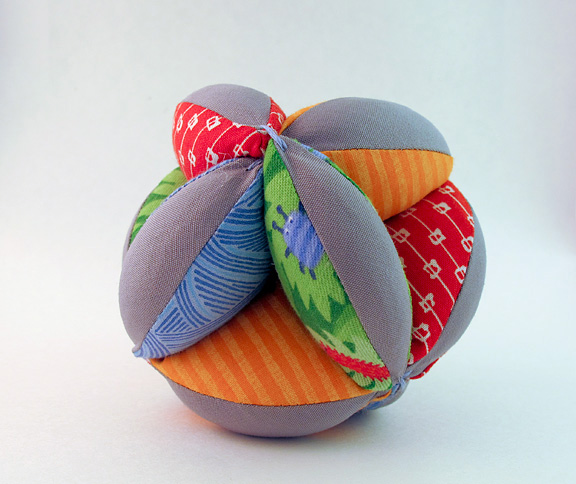
The directions call for using two fabrics, but I decided to use one solid and four prints. This made it a bit of a challenge to figure out how to put the ball together without the same fabrics touching each other (I think had I used just 3 prints, it would’ve been much easier). I ended up using this tutorial to put the ball together because it seemed easier, and it allows the ball to actually be taken apart in three sections like a puzzle.
(these photos were taken before I had my fancy new light tent!)
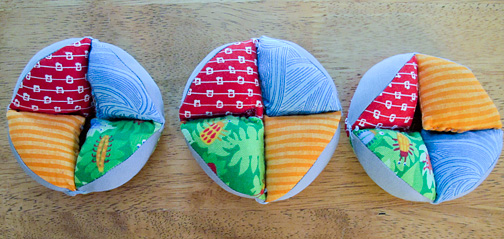
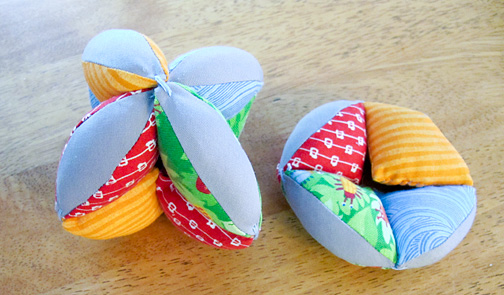
Unfortunately, in the last few days something has gone wrong with my camera. I have an old (2003?) Canon Digital Rebel that I bought from my mom years ago, and it might finally be done. I just ordered a new battery in case there is some slim chance that the problem is old batteries, but I’m not hopeful. Urgh.
Via the random number generator at random.org, the winner of the Autumn with Matthew Mead book-a-zine is #7, Dana.
Please send me your address, Dana, so I can get your prize to you. (hramerh (at) gmail (dot) com)
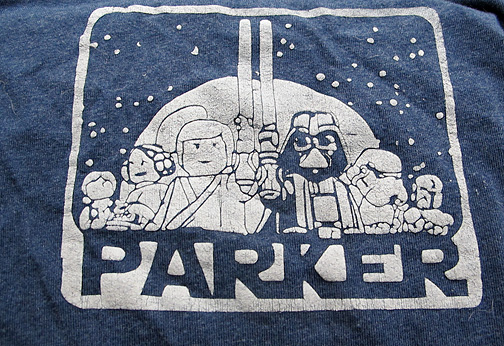
I realized in my recent post about my son’s birthday, I forgot to include a shot of the shirt I made for him, using my Silhouette machine and fabric paint. I used an image from a Star Wars LEGO instructions manual and tweaked it in Photoshop to simplify it to a basic black-and-white poster-like image, and cut it out of vinyl, which I then stuck to the shirt and used as a stencil. Instead of removing all the little excess bits of vinyl before sticking it on the shirt, I transferred the whole thing to the shirt and then peeled off the parts I didn’t want. The only problem I had was that I mixed black and white fabric paint to make gray, but the only white paint I had was a “velveteen” type. It looked great, but then, because apparently I can’t leave well enough alone, I decided to iron it from the back to heat-set the paint (even though the directions don’t call for it). Well, that made the paint puff up and obscure some of the design. But now that it’s gone through the wash, I kind of like the grungy look.
We’ve been enjoying some warm weather here, so I’ve been in denial a bit that summer has ended. But, I do love fall in New England! (I just wish it lasted longer. Snow for Halloween is not unheard of.)
Here’s something that will get you in the right frame of mind for fall: Autumn with Matthew Mead.
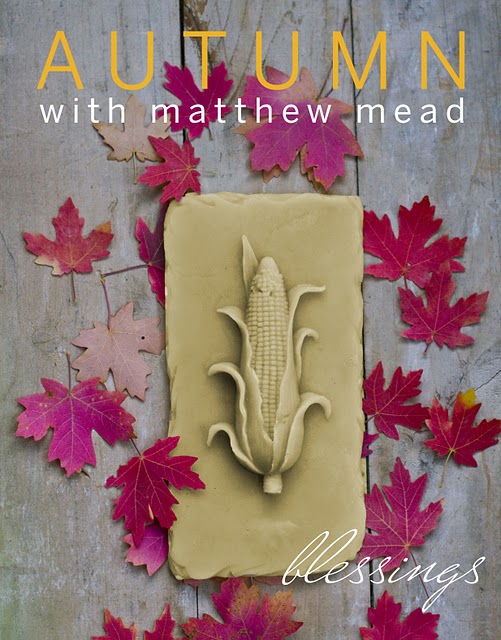
Matthew was nice enough to give me an extra copy of his new book-a-zine to give away here. I’m still going through my copy, but I already know I will be making some of the yummy autumn cocktail recipes!
Just leave a comment here for a chance to win. I’ll pick a winner on Friday morning.
|
|
