|
|
If you’re looking for my Sew, Mama, Sew! Giveaway, click HERE.
I’m in the middle of the very tedious process of scanning lots and lots of old holiday photos, so I decided to make a few projects and write about them for AP. All three combine photos of me and my sister growing up, with a snippet from “Have Yourself a Merry Little Christmas.”
I think my favorite is the wreath, but the fotoclips are pretty neat, and I’m hoping to use them for some post-holiday decorating. The pillow was a bit tricky, because at 14-inches square, it is obviously bigger than the printable fabric sheets I used. But I was able to print the images on four sheets then sew them together like a four-patch quilt block, and you have to look pretty close to see the seams.
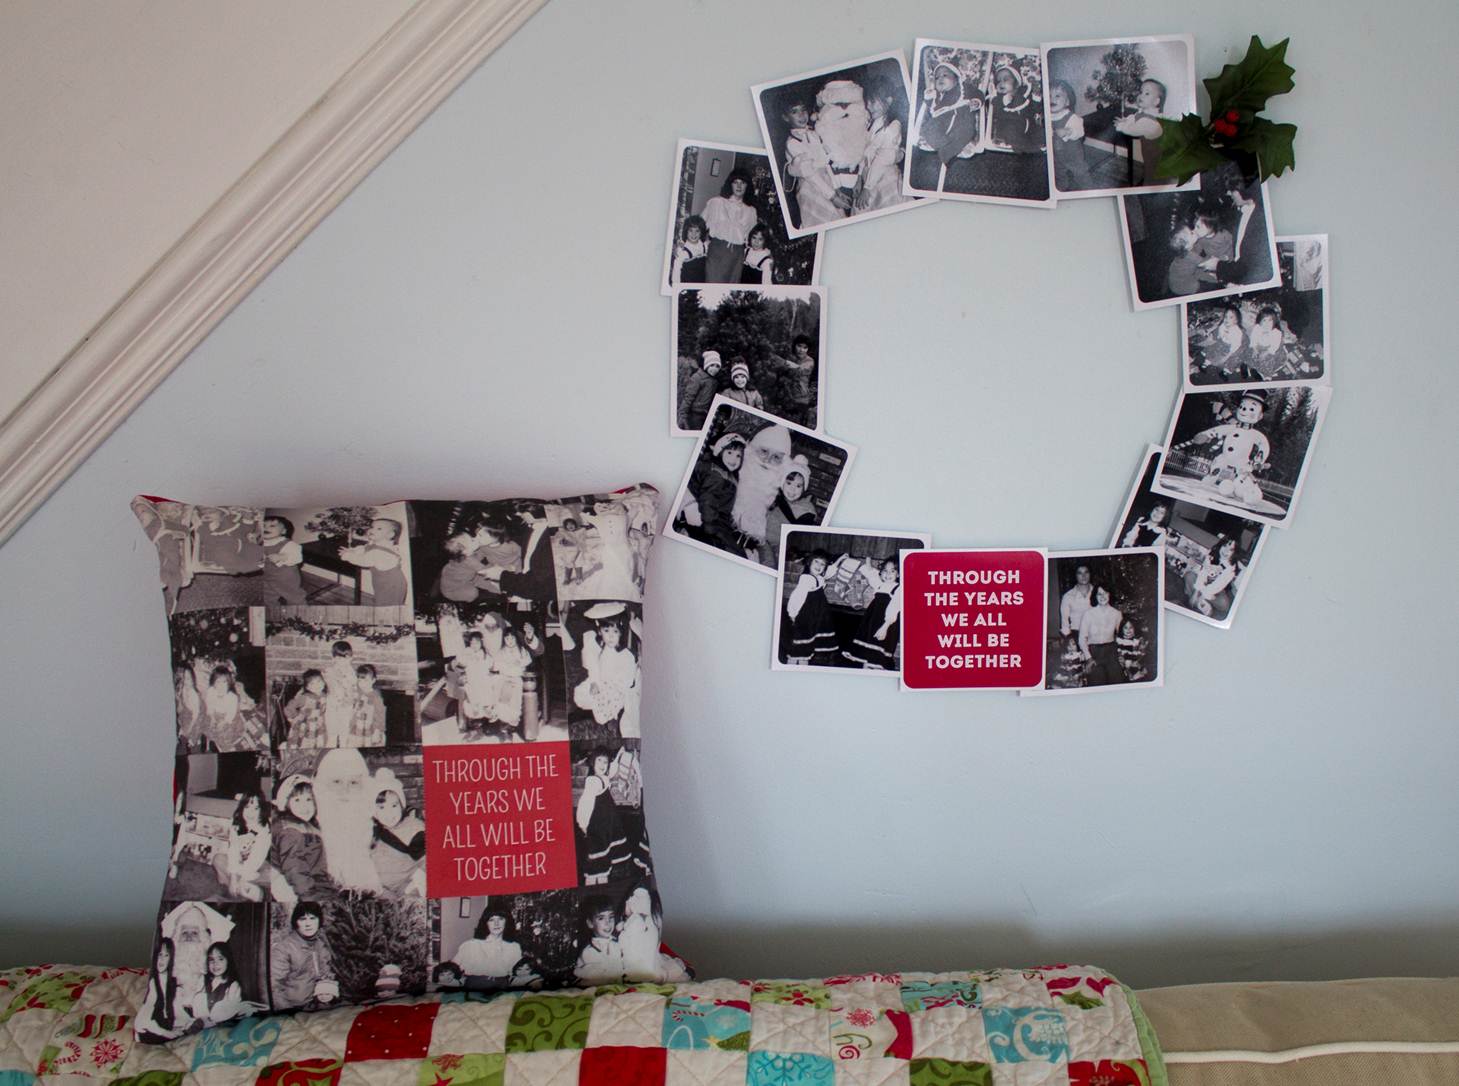
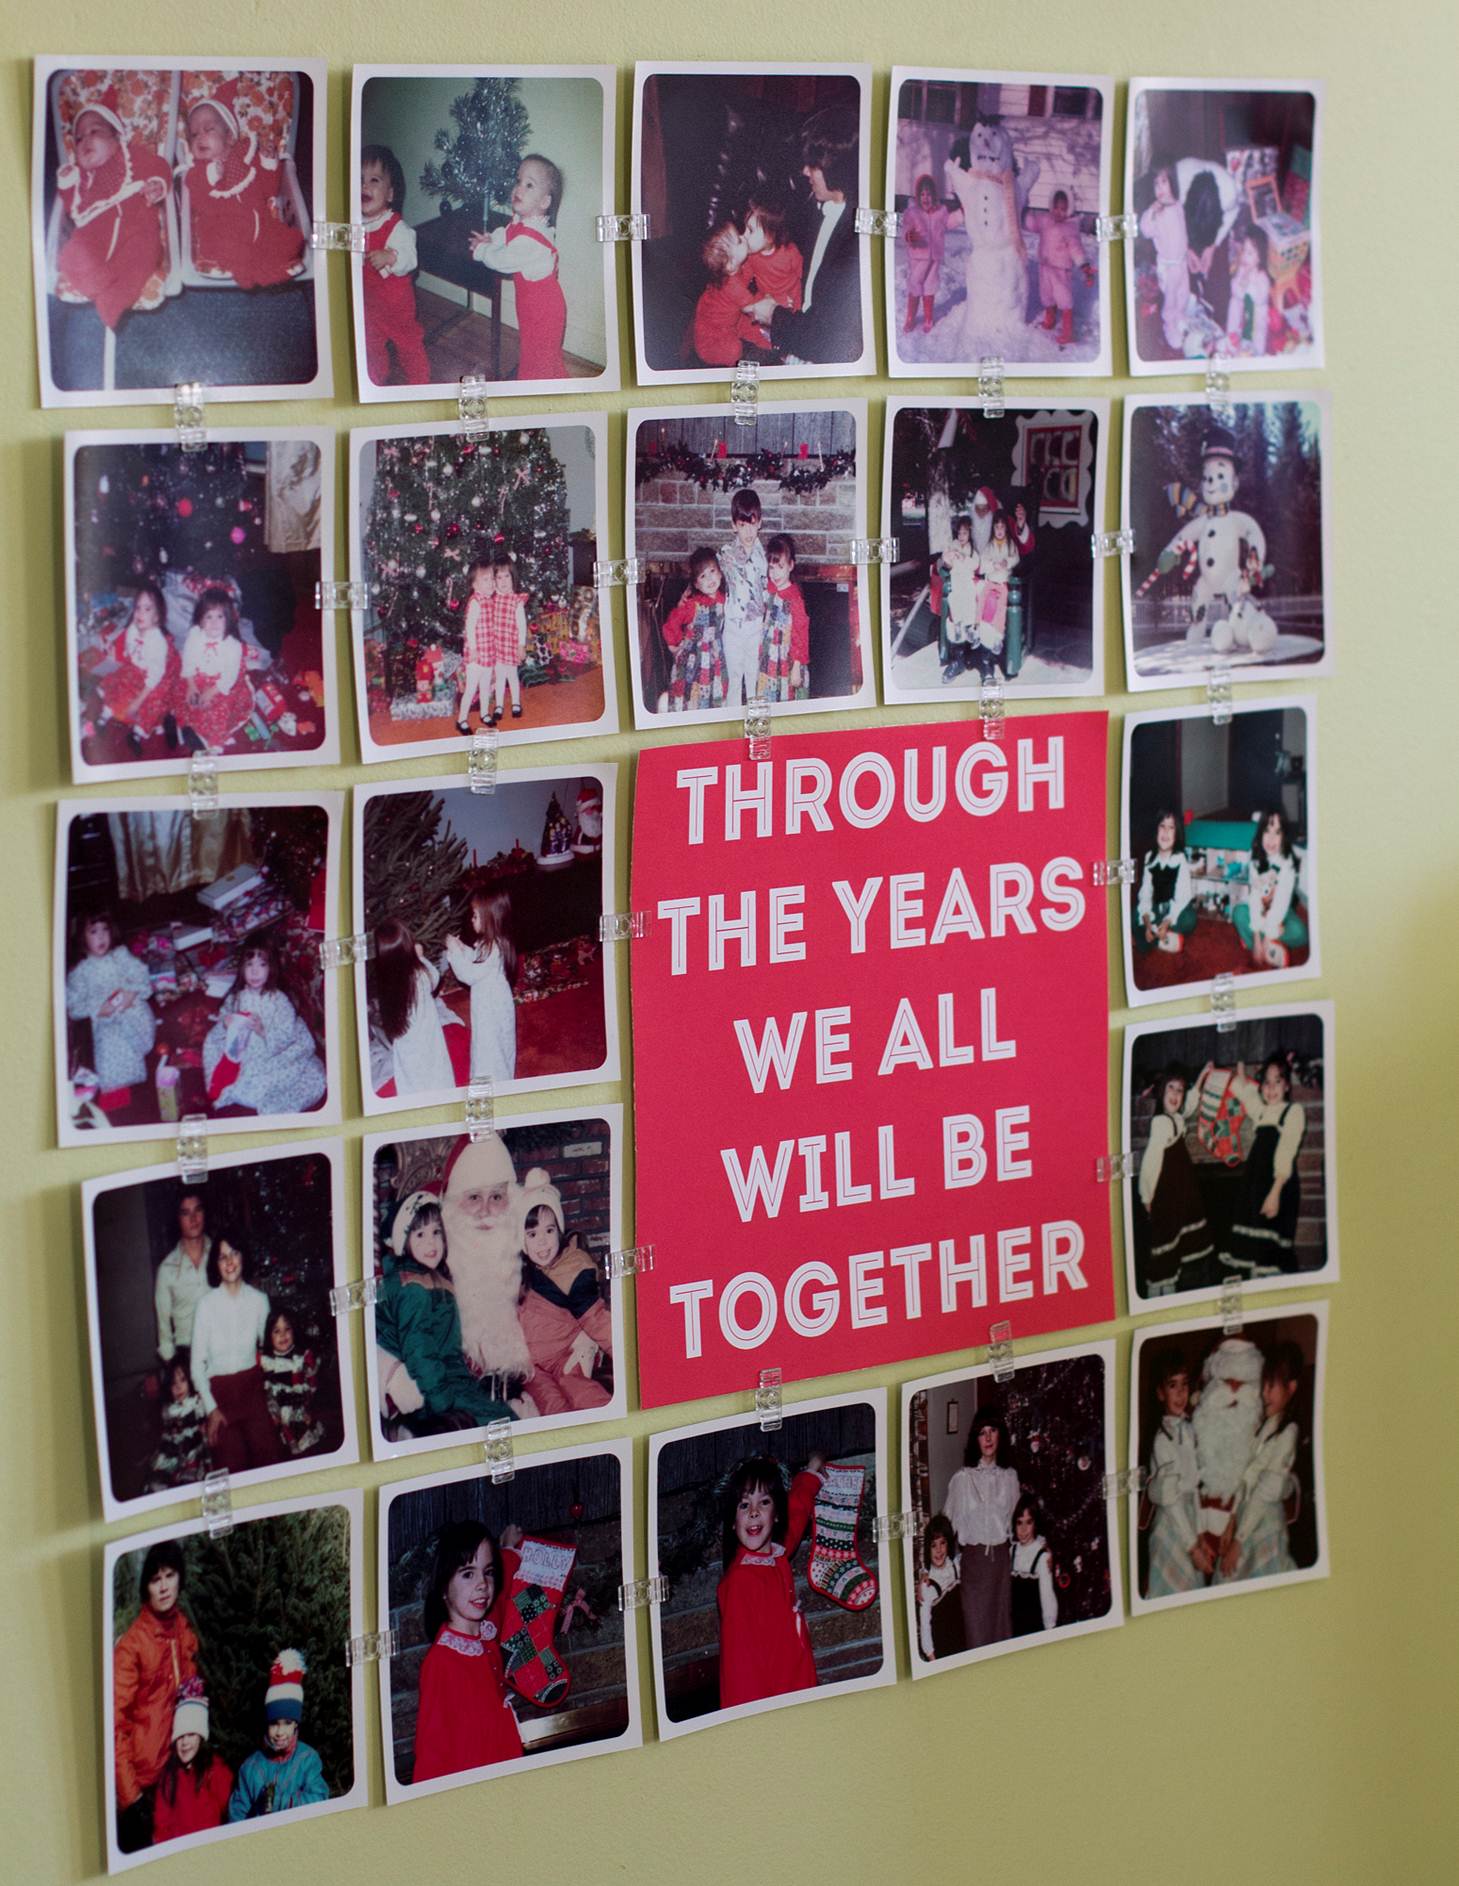
That picture in the top row of the grid, third one in, is one of my mom’s favorites: me and my twin kissing on Christmas Eve when we were 14-months old 🙂
Full instructions on how to make each project can be found HERE. (NOTE: Links to news stories often go dead quickly. If this link expires, google “Holly Ramer” “AP” and “holiday photos”).
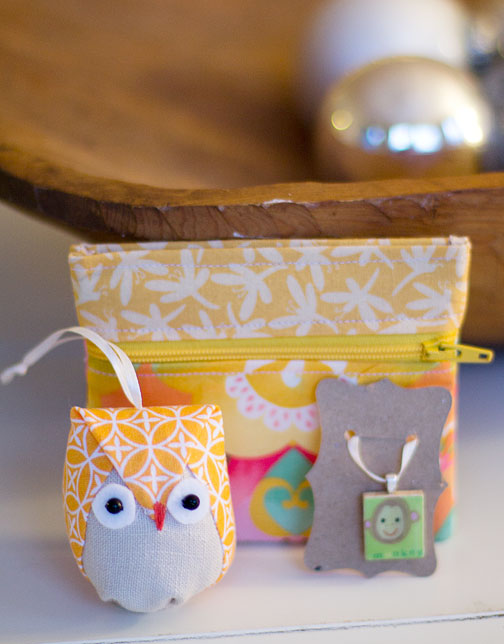
I’m a day late, but here’s my offering for Sew, Mama, Sew!’s giveaway day: a collection of little girly gifts! I made the wallet using the “Snap Trap Wallet” tutorial at Just Another Hang Up. The top uses pieces of a metal measuring tape to create an opening that snaps open and closed, and there is a zippered pocket on the front.
I made a bunch of these owl ornaments using this tutorial. I added the ribbon for hanging, but it would be easy to snip off and remove if you just wanted to stand it up on a table or shelf. And finally, the necklace is made from a Scrabble tile and a snippet of scrapbooking paper. (Sorry for the blurry picture, the lettering says “MONKEY.”)
For those who are new to my blog, I hope you’ll come back and look around! As a bit of background, I’m a reporter for The Associated Press by day, crafter by night. Sometimes the two intersect and I get to write sewing and craft columns for AP (My most recent column about using old photos in holiday decorations can be found HERE), but my main job is covering politics and other topics in New Hampshire. My husband is the national food editor for AP, and we have an 9-year-old son who enjoys sewing as long as it involves jamming his foot down on the sewing machine pedal as hard as he can!
For a chance to win, just leave a comment. Anything will do, but if you are feeling chatty, tell me about a memorable Christmas gift you’ve given or received.
I will close comments at 10 p.m. EST Friday, and will announce the winner Saturday. I will ship internationally.
Please check out all the other great giveaways by clicking the image below:

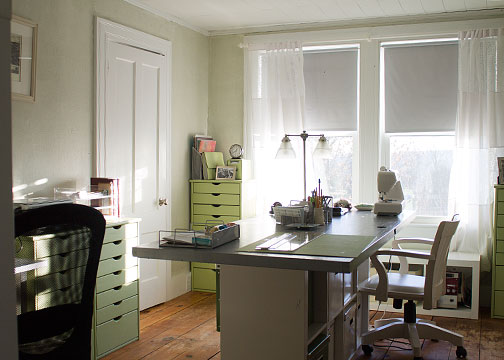
Just in time for Christmas crafting, I have a whole new room to myself! We are planning a major renovation of our kitchen for next summer, but we’ve already started moving stuff around now. Ultimately, we will be expanding the kitchen, turning a pantry into a bathroom, the sun room into a living room, the living room into a dining room, the dining room into a family room/ toy room, the toy room into library and the guest room into a craft room. Whew. That is exhausting just to type out! But we’ve already swapped some of the rooms, and so far we really like the changes.
My new craft room owes its existence mostly to the fact that my husband was sick of my clutter! We used to have a home office downstairs that included both of our computers and my sewing desk, plus all my supplies. And we had a guest room upstairs, that included our elliptical machine and a sleeper sofa, but we almost never have guests. So with the new arrangement, the elliptical machine is downstairs in my husband’s office, the sofa is in the dining room (sounds odd, but it works) and all my stuff is upstairs.
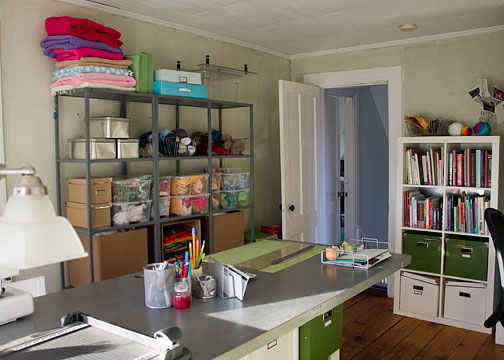
The only thing we purchased was the gray shelving and the clear plastic bins in the above picture. The shelves are the Vittsjo shelves from IKEA, which are black, but we spray painted them gray. It’s hard to see in these pictures, but the shelves are glass. Otherwise, we had everything else in the old office and other parts of the house. (The table is made out of IKEA Expedit shelves topped by an old door we snagged when our AP office got torn down years ago).
The large boxes on the gray shelves are just inexpensive shipping cartons I bought from Staples (I had to buy a pack of 20, but I will use the rest for something else!) I measured wrong, however, and thought I was purchasing boxes that also would fit in the Expedit shelves, but they are way too big. I used to have my fabric scraps shoved into the green drawers, so I really like having them in the plastic bins where I can see them.
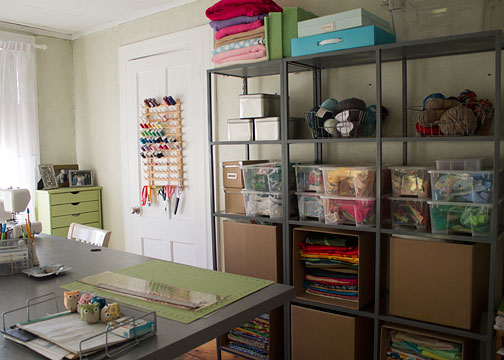
That door the thread is hanging on is my closet. Our bedroom has a ridiculously tiny closet, so the two slightly larger closets in this room are where both Jason and I store all our clothes.
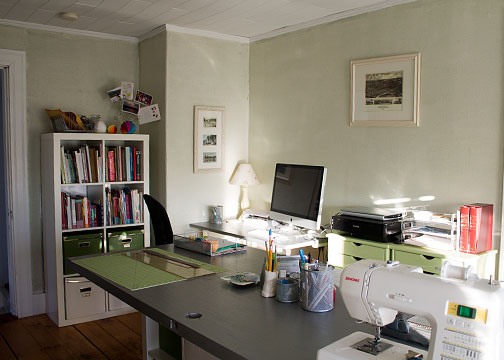
I tried to be pretty ruthless in getting rid of stuff as I put this new room together, so many of the green drawers actually are empty. I put together a huge box of stuff for Parker’s art teacher, who’s always looking for new supplies. Some of what I had saved was ridiculous! I LOVE my new space … we’ll see how neat I can keep it as I get all my Christmas projects done!
Halloween decorations made with newspaper!
For my latest AP craft story, I made a Halloween wreath and garland using newspaper. I figured, the black and white color scheme is a perfect jumping off point for Halloween decor, and given that I am a journalist, why not encourage people to buy more newspapers!
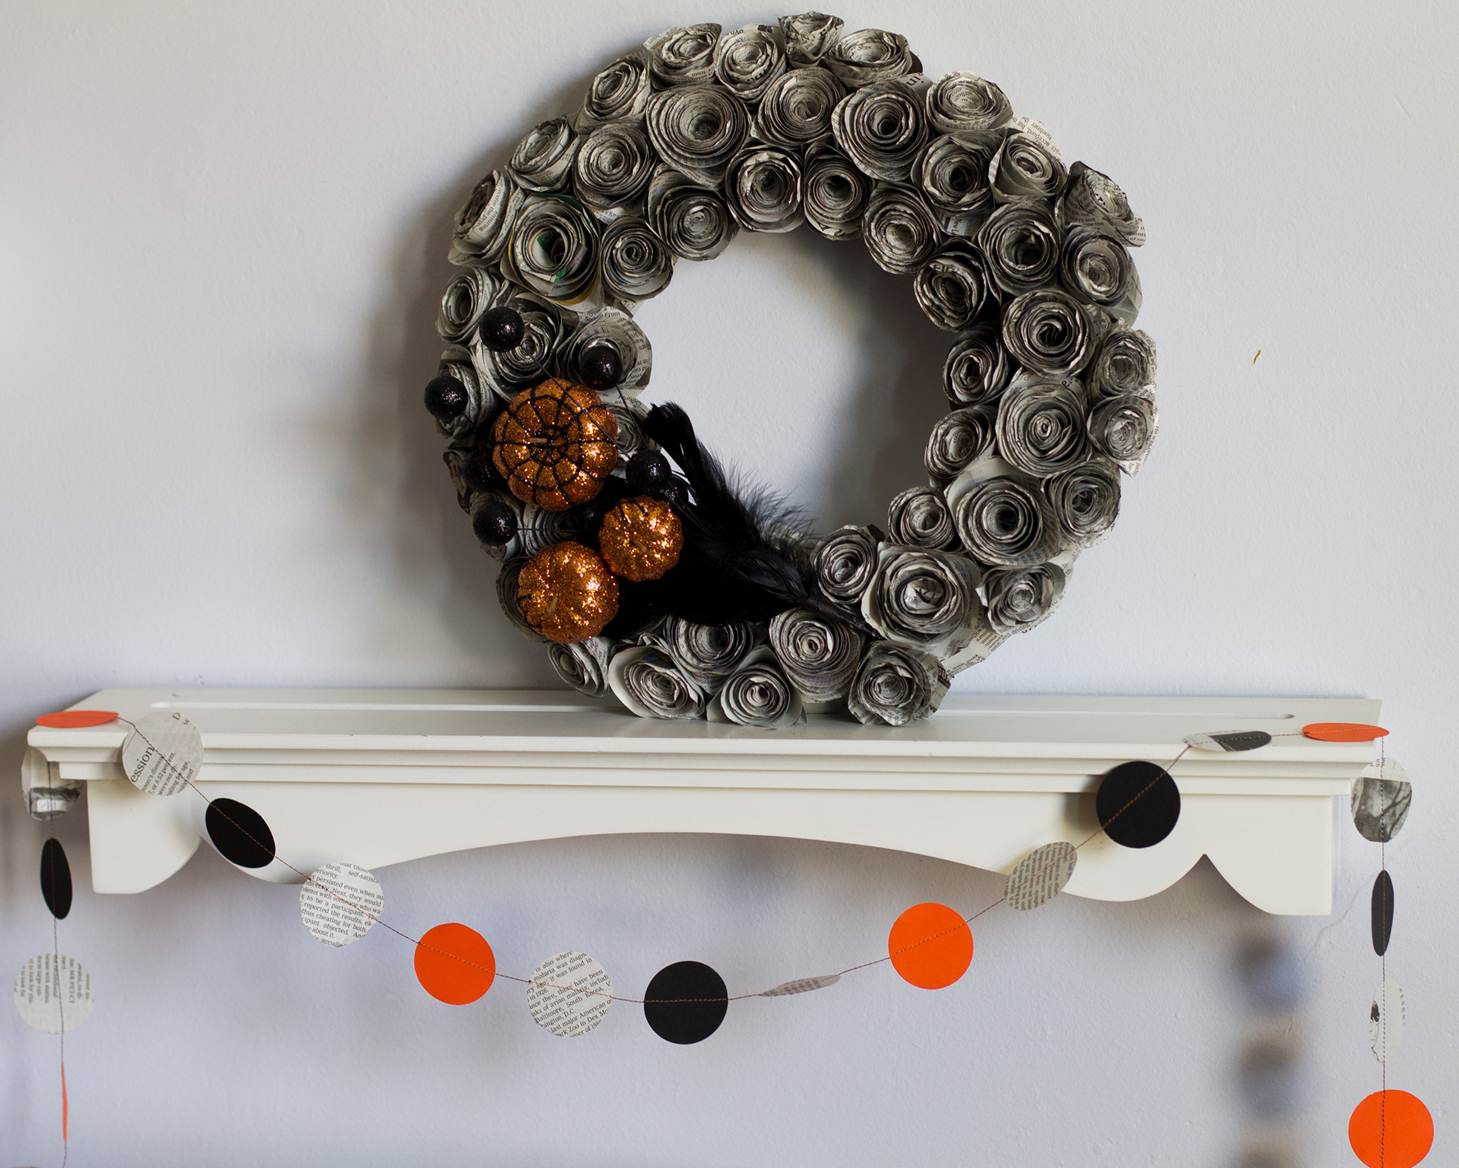
I had never made rolled-paper roses before. They weren’t difficult, but they were quite time consuming. I was on deadline and had to make them all in one day, but it would not have seemed like such a chore had I spread it out over a few days. My wreath really could use another row of flowers around the outer edge, but it was good enough for a straight-on photo!
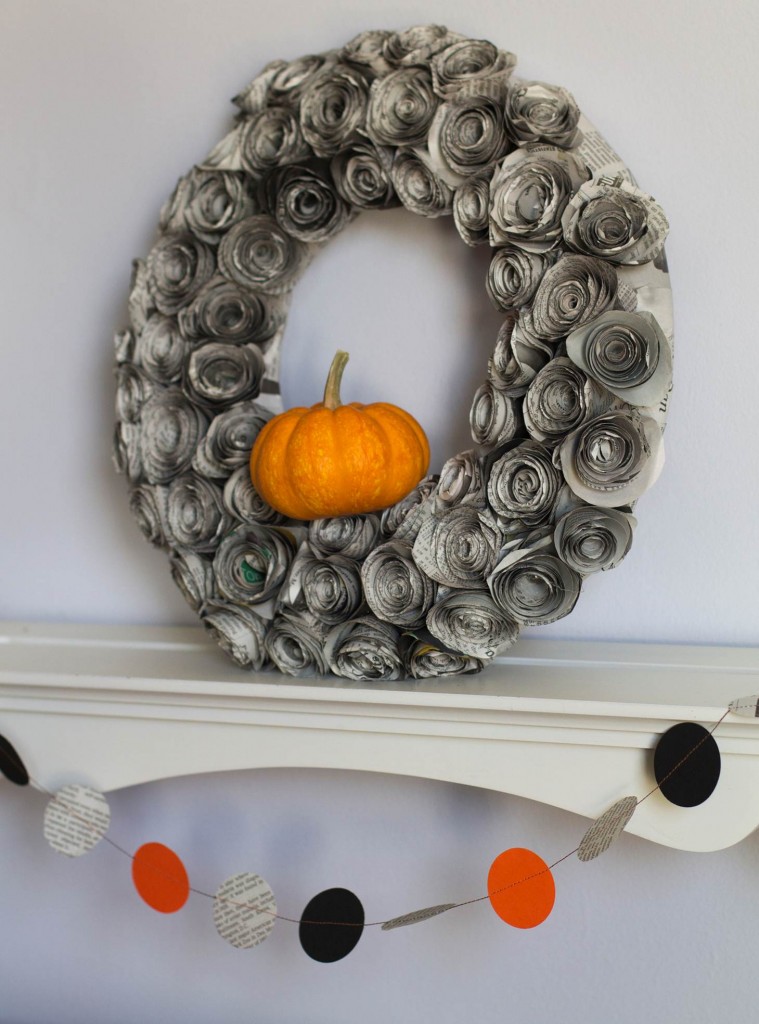
I also experimented with a more minimalist look, removing the glittery embellishments and just adding a mini pumpkin.
I like that version better, and that’s how it is hanging on my dining room wall now, though the pumpkin keeps falling off! I think I need to spear it with a toothpick and stick it into the foam wreath.
The directions can be found here (though news websites often get updated and the links go bad. So if you can’t find it, google “Holly Ramer” “Halloween wreath.”
Here are some of my past Halloween projects and tutorials, just click on the images to go to the posts.
 Pantyhose Pumpkins  Needle Felted Pumpkin 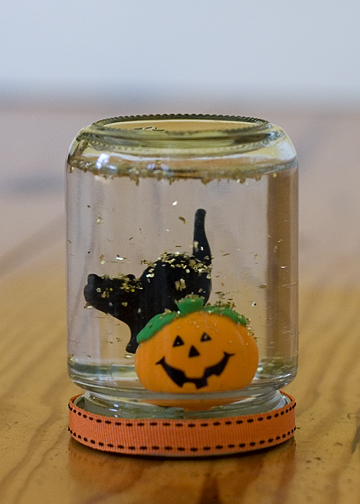 Halloween “Snow” Globes
I have to confess, when I purchased Abby Glassenberg’s book, Stuffed Animals: From Concept to Construction, part of me was thinking, “I’m not REALLY interested in designing my own stuffed animals, but I know the book includes at least a few patterns and projects I would like.” The second part is more than true … I think the only reason I haven’t completed any of them yet (the hippo is in progress) is because I can’t decide which to make. But, what has surprised me is how often I’ve already consulted this book for various projects. So maybe I more interested than I thought!
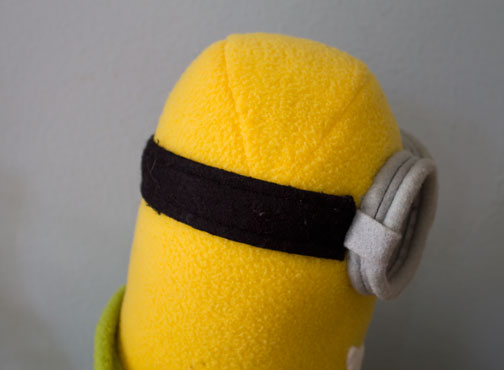
As I mentioned previously, I tried out a bunch of the various techniques for making round objects when I made the golden snitch and bludgers for my Harry Potter-themed gifts. I ended up using one of those techniques again to make my son a stuffed “Minion” from the Despicable Me 2 movie we saw earlier this summer. Really, I spent a ridiculous amount of time trying different methods to get a rounded head and bottom _ I didn’t want to just have two flat, rounded shapes sewn together, I wanted it to be three-dimensional. What finally worked was sewing three wedge-shaped pieces together to make sort of a dome shape, and then sewing that to the cylinder-shaped body. Of course, I then added a hat and covered up all that hard work!
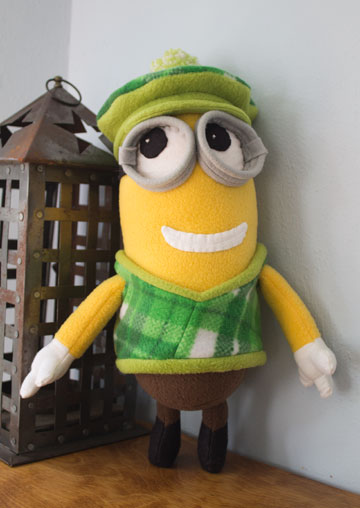
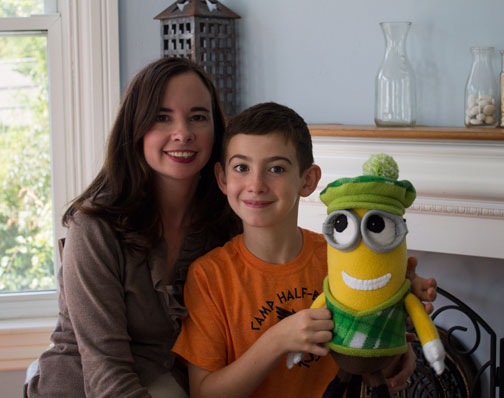
Parker really wanted the “golfer” minion, so I found some fleece that had a bit of green plaid (it actually was a John Deere print with tractors and green plaid squares). The plaid pieces weren’t quite big enough so I had to piece them together, but overall, it worked. And Parker absolutely loves it.
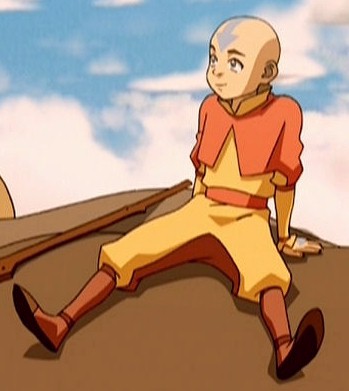
I also did a bit of designing/improvising when my friend asked me to make a doll for her daughter’s sixth birthday. She had her heart set on a cuddly version of Aang, a character from Avatar: The Last Airbender, a show I’ve never seen. I didn’t want to start completely from scratch so I purchased Abby’s Liam doll pattern. I printed the pattern at 75 percent, and made the head more of an oval shape than round. In retrospect, I wish I had just kept the round head and minimalist look of the original rather than trying to exactly replicate the face from the cartoon. I made a few modifications to the body to add the stripes of orange, and for the legs, I gathered a wider piece of fleece to the lower leg to make the pants more closely resemble the picture. I love the technique for making the feet, very easy and very cute! (though with small pieces like that, I like to baste them together by hand rather than try to fit lots of pins along a small stretch of fabric).
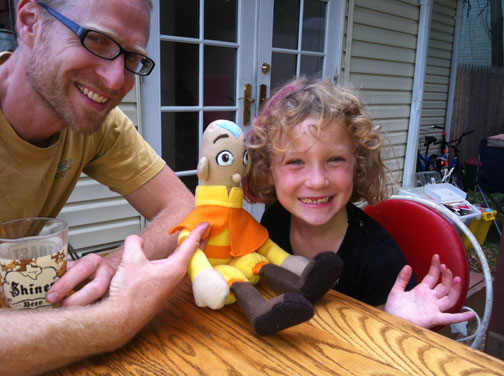
I think the final result looks a bit like a Muppet!
I know I took pictures of the completed doll, but I can’t seem to find them. But here’s a picture I used as reference, and a picture of the final product with the happy recipient:
After months of saying he wanted a Harry Potter-themed birthday, Parker changed his mind and went with Percy Jackson instead. I was a bit disappointed, but I got over it, and we put together a great party! I was surprised to see how much inspiration there was online. While I don’t think Percy Jackson fans are quite as obsessed as Harry Potter fans, there certainly is an active bunch of them out there.
Here’s a great tip for designing party invitations with popular characters: Search for screen-saver or “wallpaper” images. I found several Percy Jackson wallpapers, including THIS one, which I used for my invitations. It was perfect: just the right size, with plenty of blank room to add the text.
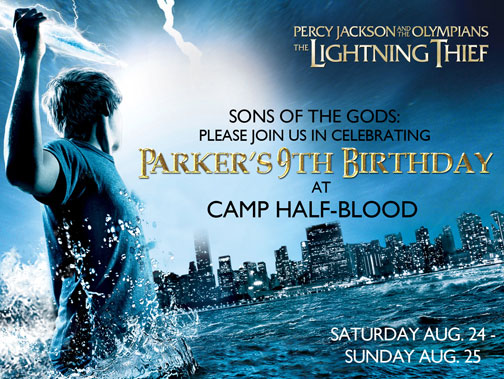
I printed the party details on the back, inspired by the text of the invitation I found here, at The Peanutone’s Weblog. (I’ve changed the text here to remove our personal details)
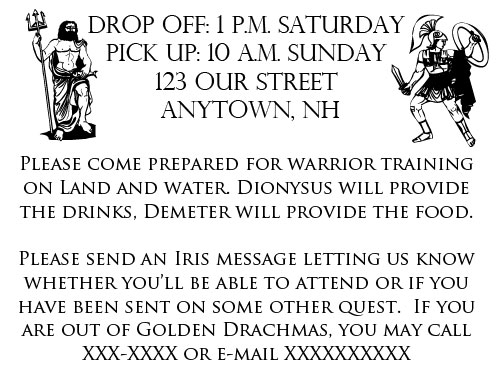
Like we did last year, we invited a bunch of Parker’s buddies to our summer cabin for a sleepover. So that was the perfect setting for “Camp Half-Blood.”
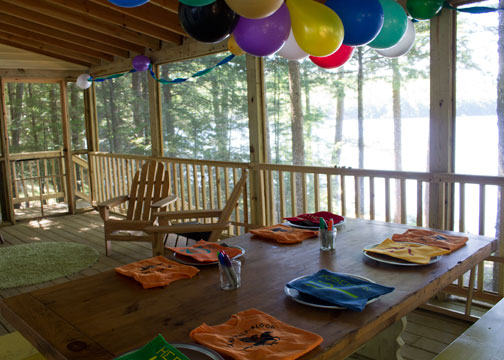
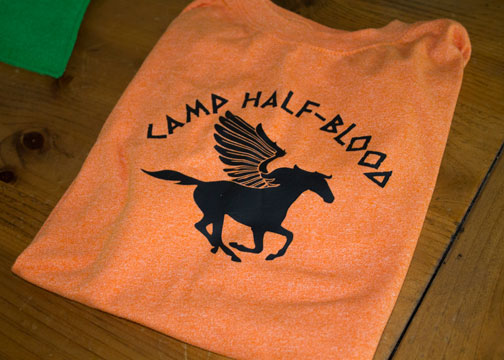
I used my Silhouette machine to make t-shirts for each boy, using iron-on vinyl and orange t-shirts from Target. I downloaded the design here, from a Percy Jackson fan site, and it worked great.
Many of the other ideas came from the “a team” blog’s Percy Jackson party post. We bought metal pizza pans at the dollar store, and my husband screwed pieces of strapping/webbing from the fabric store to make the handles. We gave the boys the option to decorate their shields with Sharpies, some did, some didn’t.
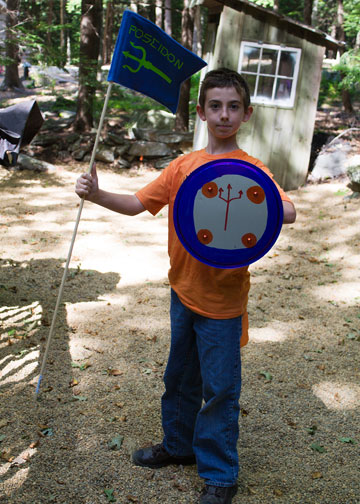
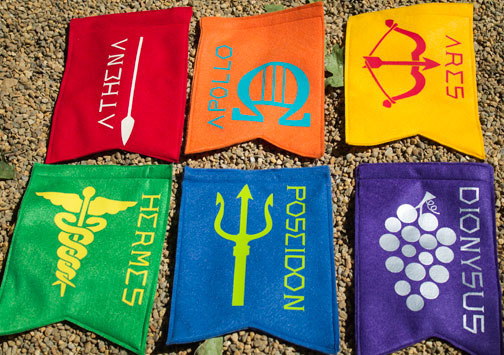
Parker assigned each guest a different parent/God, and I used my Silhouette machine and iron-on vinyl again to make flags with their names and symbols. (I forgot to reverse the image/lettering on some of them before cutting, so that’s why the names are on different sides and in different directions. Oh, well.) Capture the flag was a bit hectic _ I think everyone wiped out at one point or another in the woods or in the gravel driveway, and there were some tears, but everyone recovered quickly!
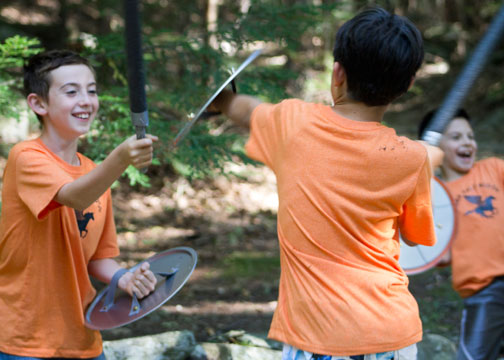
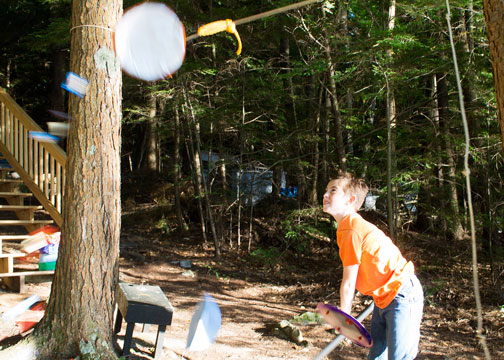
In an attempt to keep the sword fighting a bit contained, we had the boys pair off and “fight” for one minute (no hitting each other directly with the swords, just the shields) and then switch partners. They were pretty exhausted after a few rounds! The swords are pieces of PVC pipe covered with pipe insulation and duct tape.
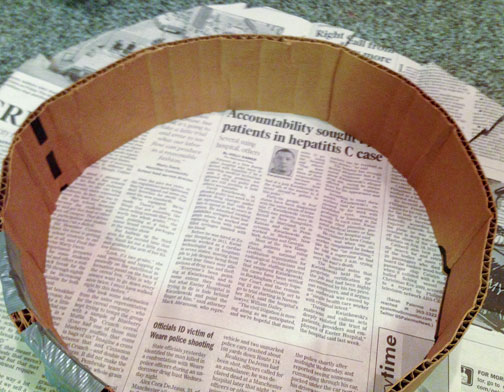
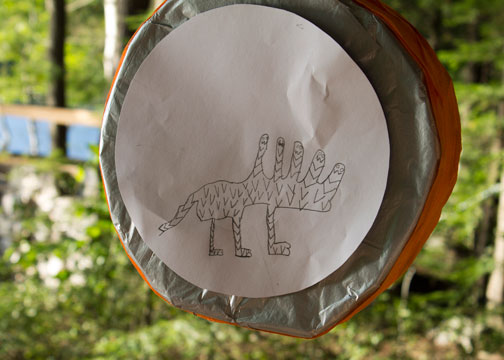
I knew I would not have the time or patience to make 3-D pinatas, but I did like the idea of each boy having his own pinata monster to battle. I was thrilled to find this tutorial for a round, flat-front pinata. And while it was a bit time consuming, it was fairly easy to make five pinatas over the course of a few evenings. I did not paint mine, because I found that I could cover up the newspaper well enough with the colored tissue paper. And while I did do one with the fringe going around the side, that seemed too fussy for mass production, so I just wrapped some streamers around the sides.
As I’ve mentioned before, my day job is as a reporter, so it was funny to realize that as I was ripping up the newspaper to make these pinatas, I came across one of my own stories! Ha.
I originally planned to print out images of each monster (Minotaur, Medusa etc), but then I decided to let the boys draw them themselves, which worked out great. (I forget which monster this is: Cerberus?)
My husband, the food editor, was in charge of the cake. He was a bit disappointed in the frosting _ it did not swirl and swoop like we planned. But it tasted great and the boys loved it.
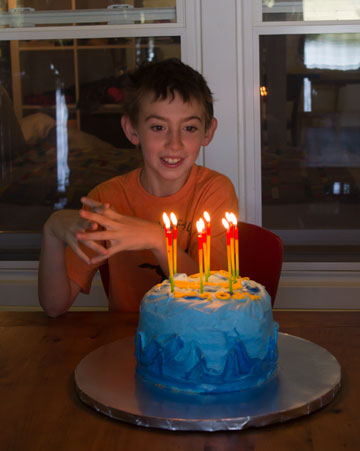
After some swimming and a viewing of the first Percy Jackson movie, the boys were all asleep by 10:30 p.m., and they slept until after 8 a.m. That alone made it a very successful party in my book!

My niece and nephew just turned 8 and 9, and since I know they love Harry Potter (and I’ve finally broken down and started reading the books myself), I decided to make all their gifts related to the books.
First, I created a Hogwarts-themed design using my Silhouette machine to make them t-shirts. The golden snitch is a shape purchased from the Silhouette online store. I used contact paper to make the stencils, and I’ll admit, it was a bit tricky to get the skinny little pieces in the “Hogwarts” lettering to cut cleanly and stick in place. I wanted the design to look distressed, so I brushed the paint on lightly, and left some bare spots.
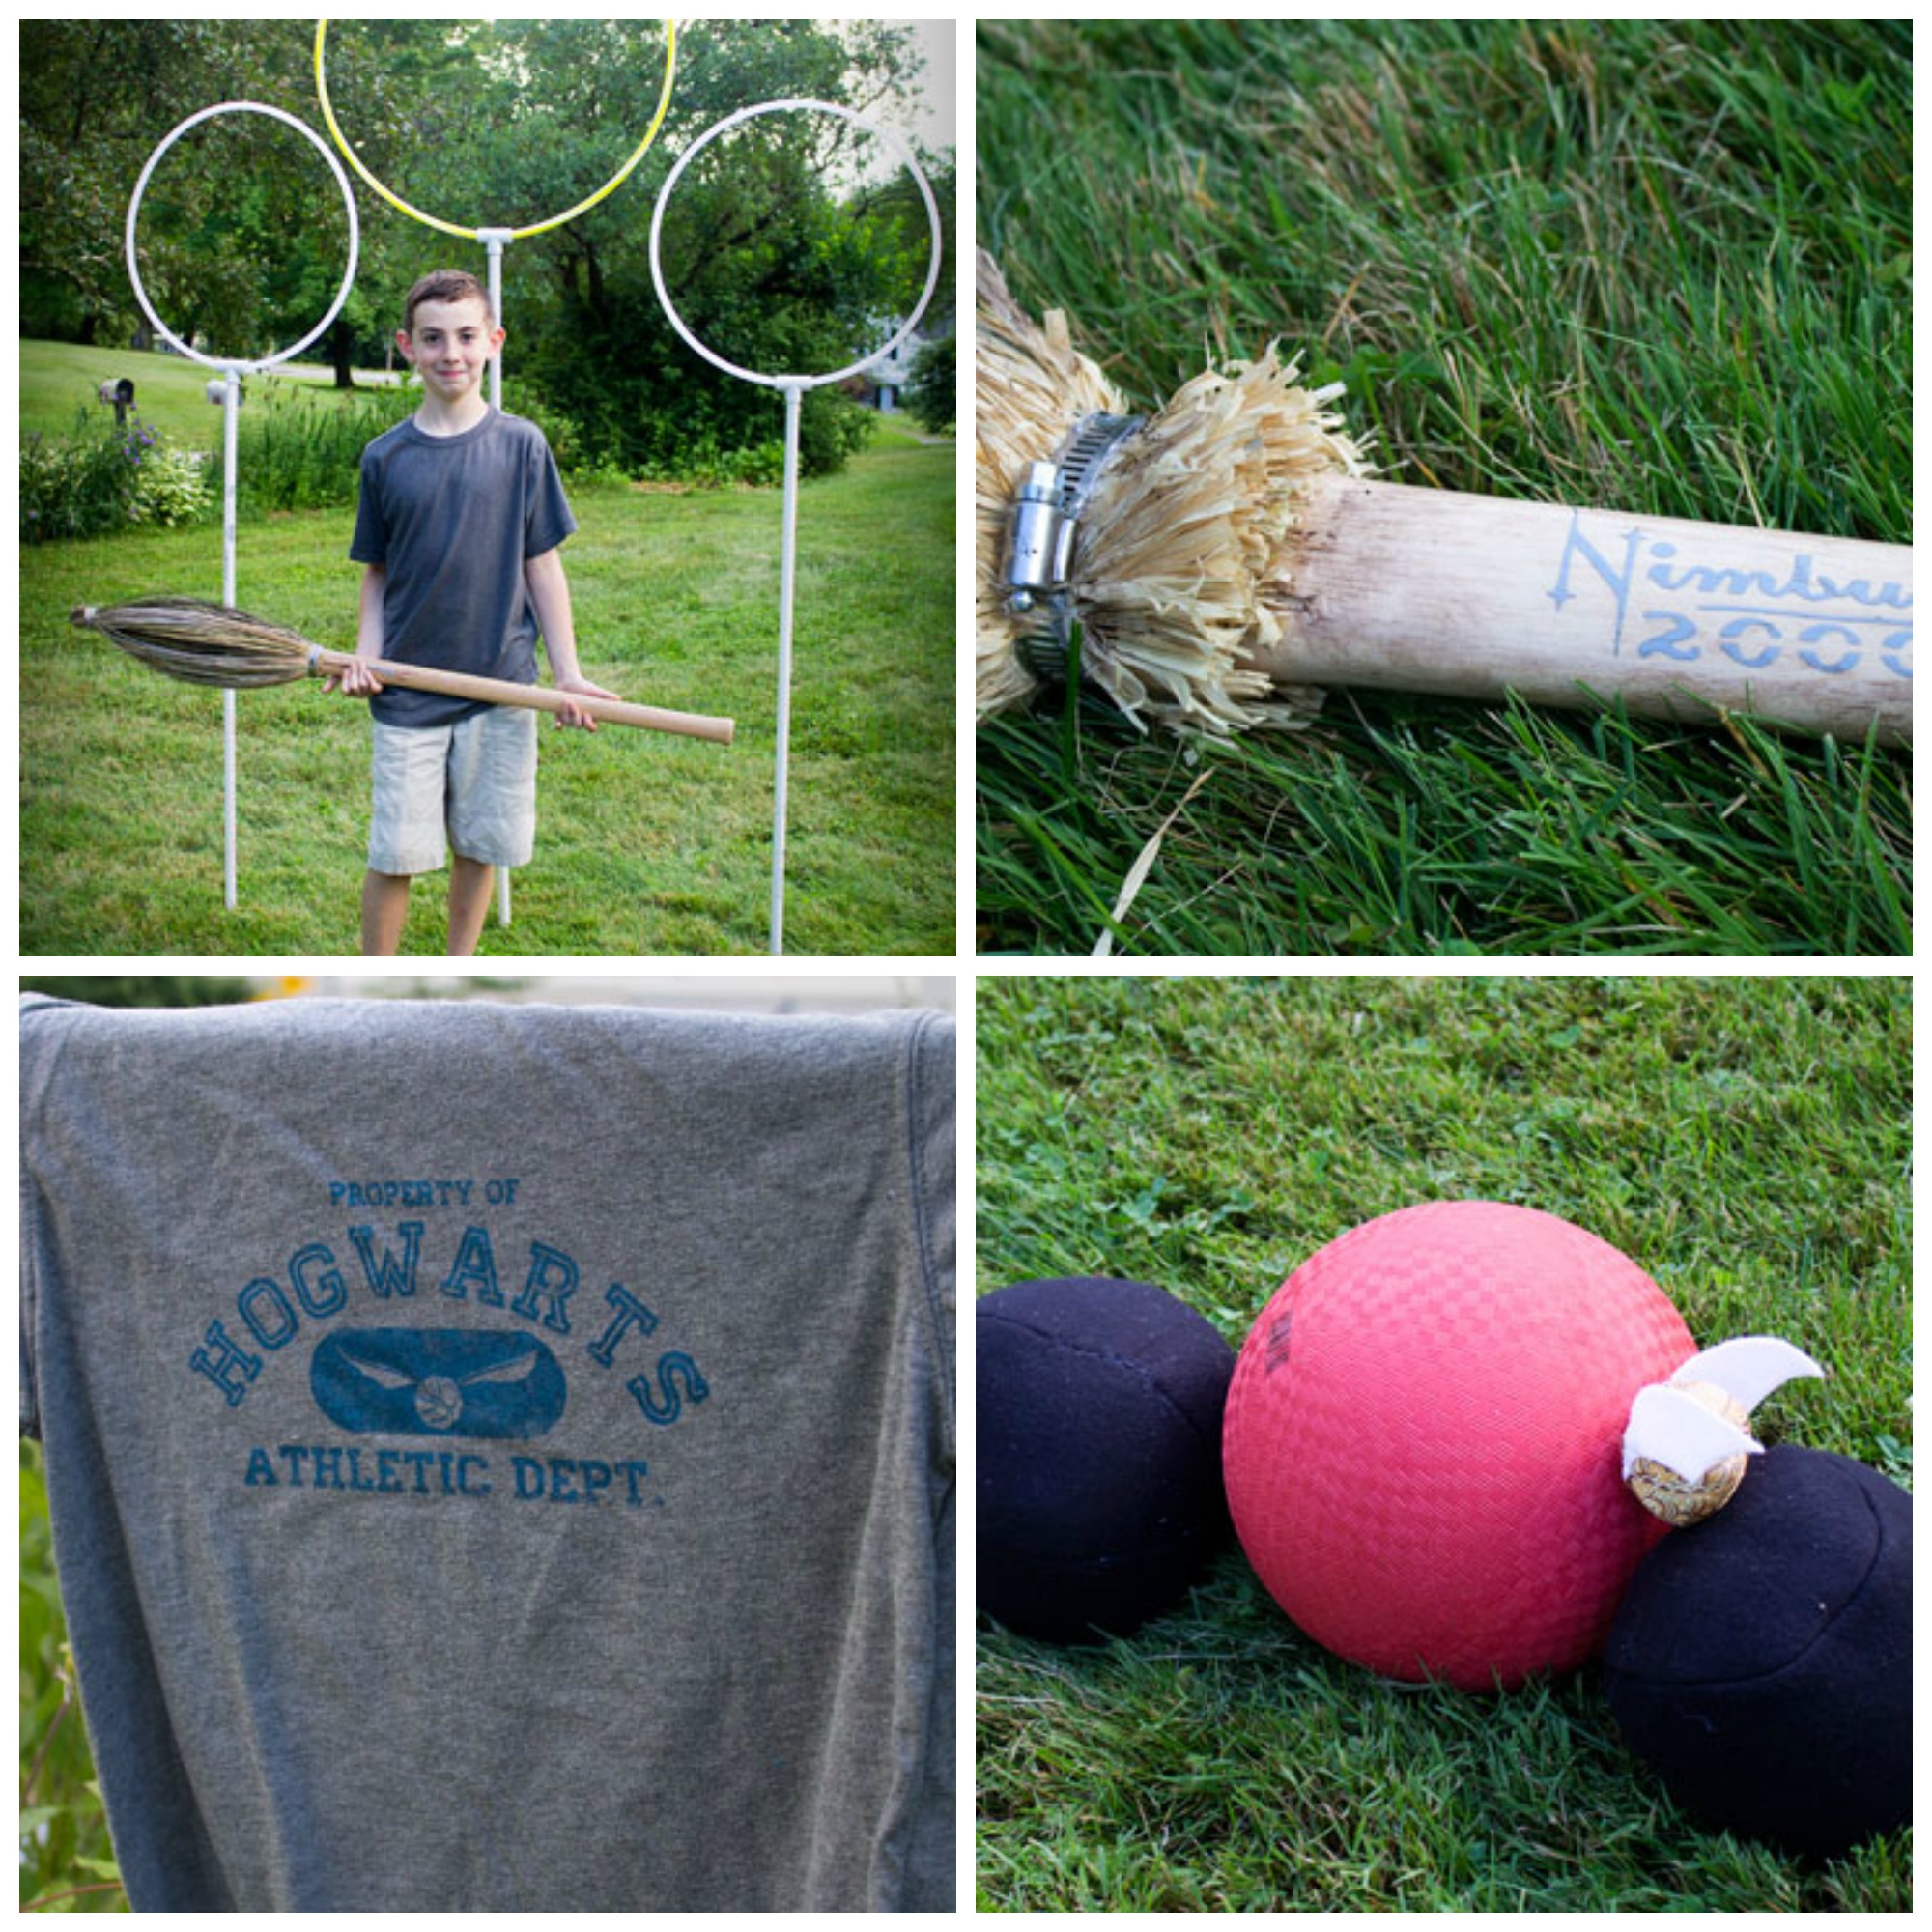
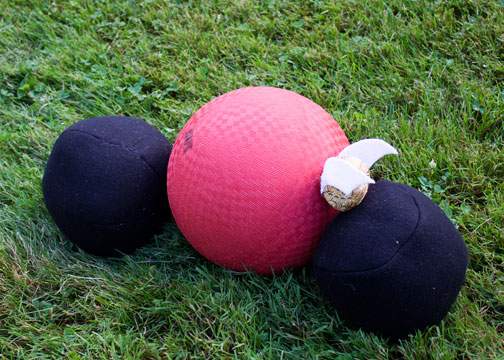
The rest of their gifts were all about Quidditch. I ended up purchasing a dodge ball for the Quaffle and making the bludgers and snitch, using a pattern in Abby Glassenberg’s new book, Stuffed Animals: from Concept to Construction. The bludgers are made out of black fleece, and filled partly with poly-pellets to give them a bit of heft.
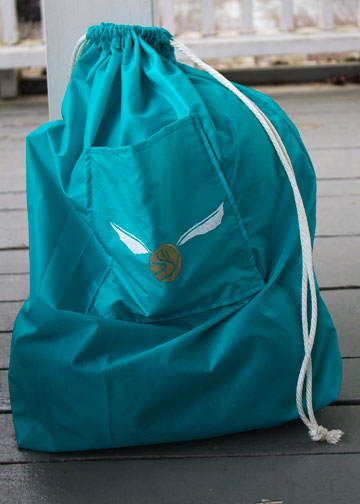
And I made a sack to put them in:
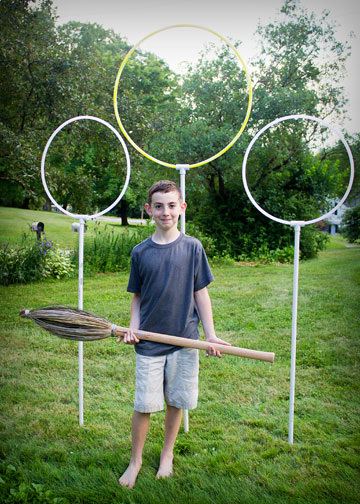
The Quidditch hoops/goals were a bit tricky. I was inspired by the awesome Harry Potter party ideas at Razzle Dazzle Your Kids. I bought the hoops at the dollar store, and my husband picked up the PVC pipe. (I think he ended up with 10-foot lengths for just a few dollars each). The main problem was that the hoops were narrower than the opening in the PVC pipe joint, so they wobbled. He suggested going out to buy some heavy duty epoxy, but we didn’t have much time, so we ended up squirting hot glue in the joint. It seemed to work OK.
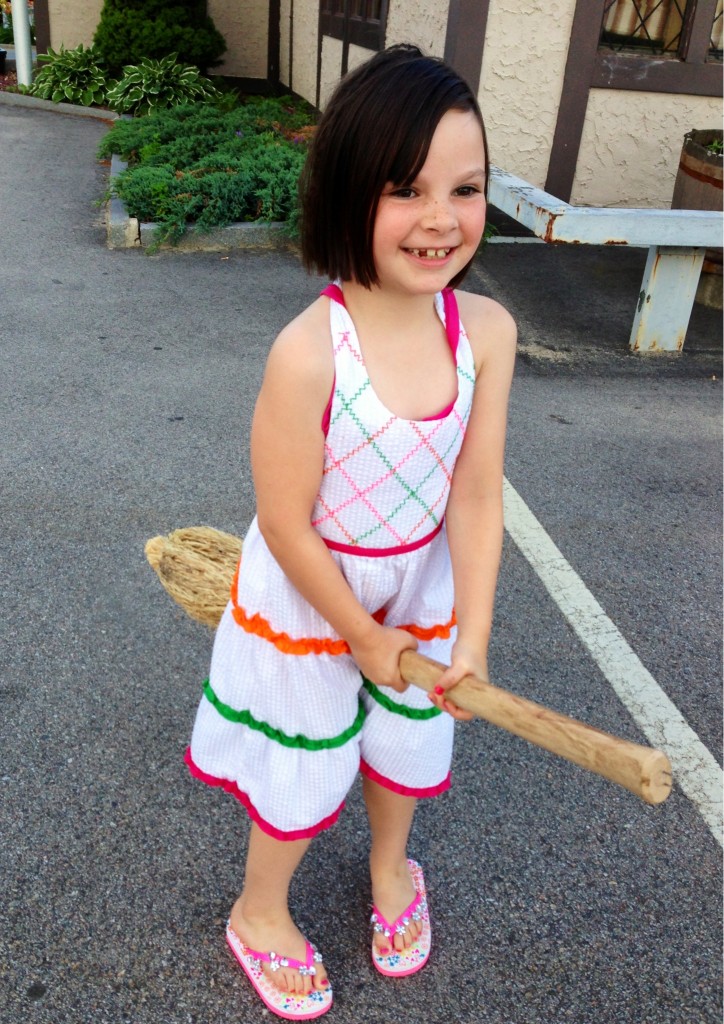
And finally, the brooms! The inspiration came from a message board/forum HERE. The broom handle is actually an inexpensive ($9) replacement handle for an axe. For the “thunderbolt” version, I used some kind of long grass I bought at Michael’s, but it was really tricky to work with. I basically created the shape I wanted out of a styrofoam ball and some cardboard and tape, glued that to the end of the handle and then tried to wrap the grass around it. But it took more grass than I thought, and the extra package I bought had shorter lengths that kept popping out of place. Frustrating.
For the “Nimbus 2000,” I used raffia instead. Which was both cheaper and easier to handle, though the finished product is not as sleek.

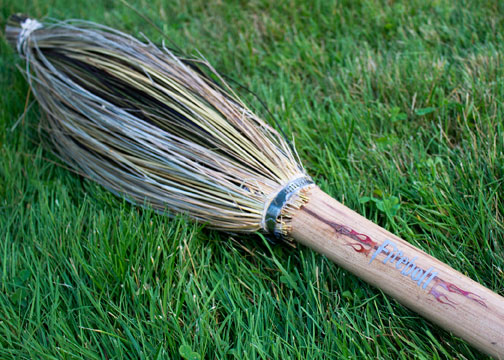
I used my Silhouette machine to cut the lettering out of vinyl (I only had silver, so it doesn’t show up that great. For the flames, I colored over the vinyl with a Sharpie).
Here’s my adorable niece!
I realize I’m several years behind in jumping on the pennant/bunting bandwagon … but after years of seeing pretty quilts, pillows and other projects, I’ve finally made a few myself. First, I made a sunglasses case for my best friend’s birthday:
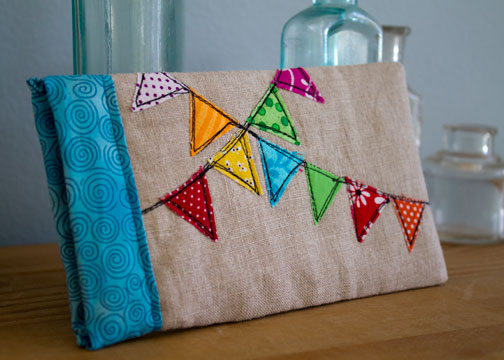
Once again, I used a modified version of the Snappy Bag tutorial at Just Another Hang Up. And the bunting/pennant inspiration came from the Bunting Kindle Case tutorial on the same site.
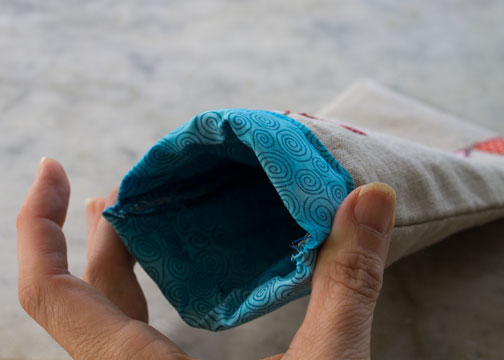
Here’s the “snappy” part in action:
My other pennant project was a picnic blanket. Some of our friends just moved to a new house across the street from a park, so I made them a picnic blanket to take along as they enjoy the park. While there are several tutorials online (including this one), I mostly just made this up as I went along.
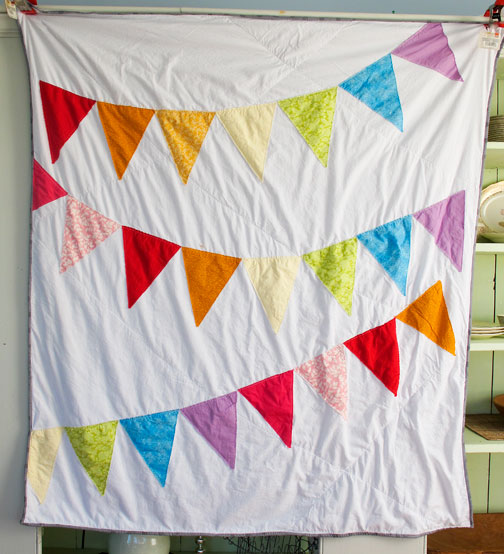
This was another great “use it or lose it” project since it is made entirely from scraps and fabric I had on hand. I started by just cutting a bunch of triangles, then I used a a piece of yarn to layout where I wanted each “swoop” to be. I then drew the line on the fabric using a disappearing ink marker. Since I seem to have ruined/bent nearly all of my straight pins making my living room slipcovers, I ended up using strips of Stitch Witchery to hold each triangle in place. That actually worked great, and made it easy to sew. I just sewed a straight stitch along the tops of the triangles first, and then went around and sewed close to the edge of each pennant. (I did this in one long zig-zag, rather than stop and start for each one). The result is a frayed-edge applique, which I think is fine for a picnic blanket.
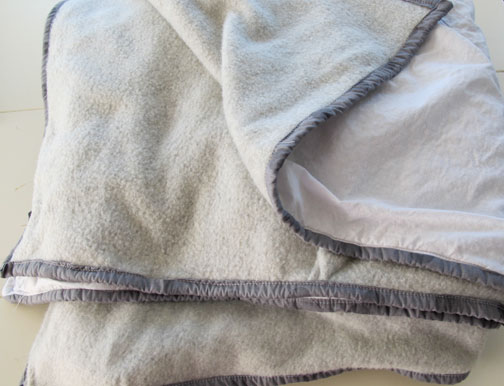
Instead of batting, I just used fleece for the backing. And I kept the quilting to a minimum, just quilting the swooping lines along the top of the pennants and then a few more criss-crossing the quilt. I was in a rush, so I did a machine binding, which came out pretty messy, but again… it’s a picnic blanket.
Today was my son’s last day of third grade! A lot of other schools around here still have a week or so left, but Parker’s school never has snow days, so he gets out a bit early. He has two awesome teachers this year, so I wanted to make them some treats to say thank you.
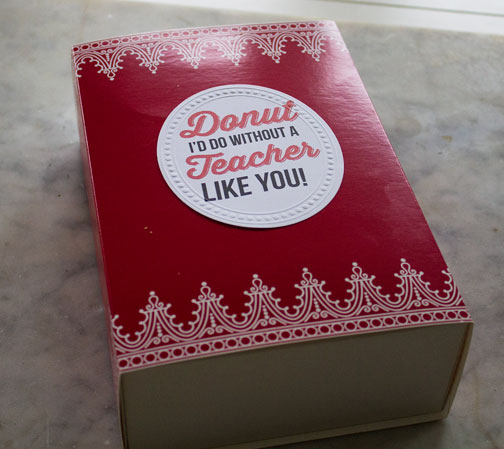
First up was a batch of handmade donuts for Mr. B. A few weeks ago, I tried this Muffin Tin Donut recipe from Cook’s Country magazine, and was surprised at how good they were. They really did have the texture and taste of cake donuts, without the frying (and in the shape of muffins). So I made another batch, this time using a donut pan and they came out great.
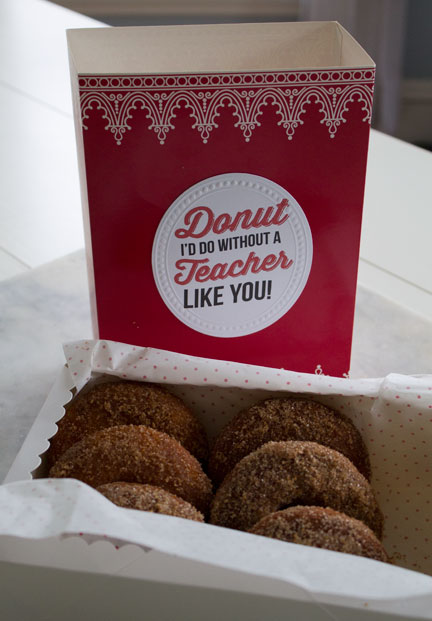
I packaged them in a cute box that was among a rather large collection of Martha Stewart Crafts boxes that her company sent my husband years ago. I’ve been hoarding them and saving them for special occasions 🙂 And the super cute label was made using a free download at Confetti Sunshine.
For Parker’s other teacher, Miss Lisa, I made a little case she can put her sunglasses in this summer, and had Parker write her a note on the matching card. I used the Snappy Bag Tutorial at Just Another Hang Up, minus the ruffle, and making the bag longer and narrower. I had plenty of tape measure left over from the kids’ wallets I made using another one of Suzanne’s great tutorials, and I love how the top of the case snaps open and closed.
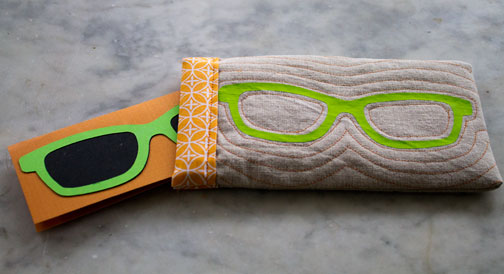
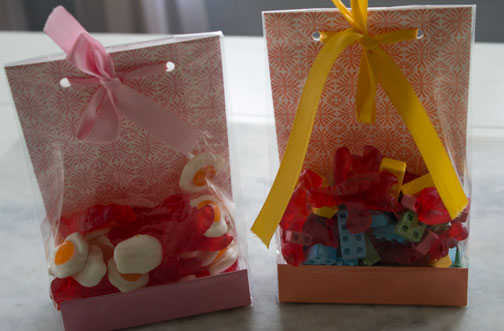
Parker also picked up some candy for his teachers at a great little candy shop. That’s a bag of gummy fried eggs and lobster (!) on the left, and lobster and candy legos on the right!
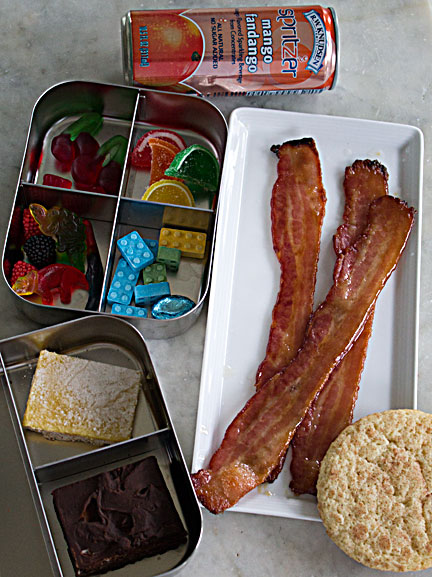
Speaking of candy, my husband (who packs all of Parker’s lunches, and is publishing a cookbook about lunches) has a tradition of letting Parker have whatever he wants for lunch on the last day of school. Here’s where the jealousy comes in… lots of Parker’s fellow students were quite jealous when they saw what he ended up with!
This birthday gift would’ve arrived on time, instead of being a few days late! But like I always say, why not extend the celebration a bit?
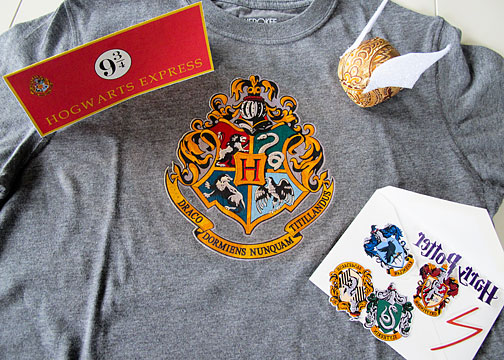
This is a collection of Harry Potter-themed items for a friend who is turning 10 today. But Parker was so enamored with everything I made that he decided he wants a Harry Potter party when he turns 9 next fall, and has spent the last few days obsessively planning. We have a Harry Potter cookbook, and he decided to type a list of all the recipes he wants to include at his party. I finally stopped him when he was at about 65 recipes 🙂
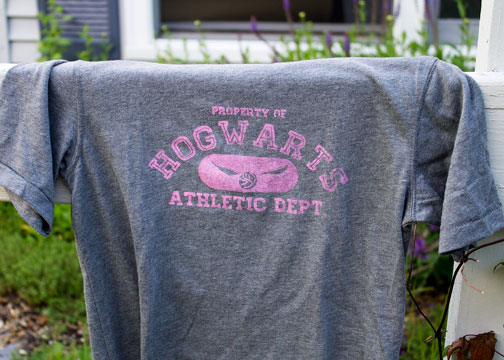
The t-shirt was the easiest part of this project, though I had some missteps. The Hogwarts crest is a design I purchased from the Silhouette online store. For my first attempt, I printed it on regular iron-on transfer paper, but you really can only use that on white fabric. It didn’t show up well at all on the gray shirt. So I bought some iron-on transfer paper for dark fabric and tried again. For some reason, my printer was acting up, and the first time I printed it, I ended up with random black boxes printed across my design. So frustrating to waste a rather expensive sheet of transfer paper! But once it actually printed correctly, it was super simple to cut it out using my Silhouette and then iron it on to the shirt. (Note: I also duplicated the image in the Silhouette software and filled it in with gray, to make a background layer. That way, the parts that don’t get cut out — like around the top of the crest — aren’t bright white, and blend into the shirt a bit more.)
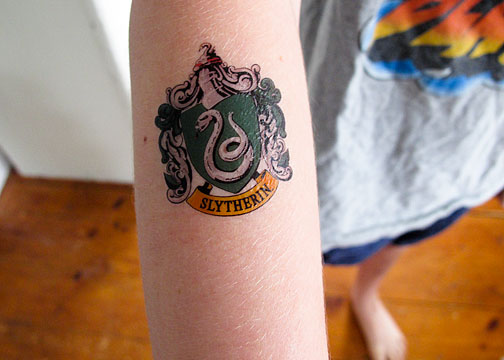
I also used my Silhouette machine and designs I purchased to make the temporary tattoos pictured in the lower right-hand corner of the picture. (They look backwards, because the images are reversed and then appear the correct way once you stick them on). My mother-in-law had given me some of the Silhouette temporary tattoo paper for Christmas, and this was my first attempt at trying it. I did have to set my blade depth one notch up from the recommended cutting settings, but that could just mean that my blade is a bit dull. (I did not purchase the thunderbolt/scar … that’s just the letter “N” stretched a bit to look more like Harry’s scar!)
I made a bunch, to fill up the whole sheet of paper, figuring we can use the extras at Parker’s party. And I let him try one out just to make sure it worked:
And finally, the Golden Snitch! I browsed around online and saw a ton of different variations, though not too many were made out of fabric. I decided not to try to match the golden/feathery wings that appear to be on the movie version of the Golden Snitch, and just went with sparkly felt wings. (I brushed some glue onto a piece of white felt and sprinkled it with glitter). I think the gold fabric was leftover from one of my husband’s food photo shoots long ago… I knew it would come in handy someday!
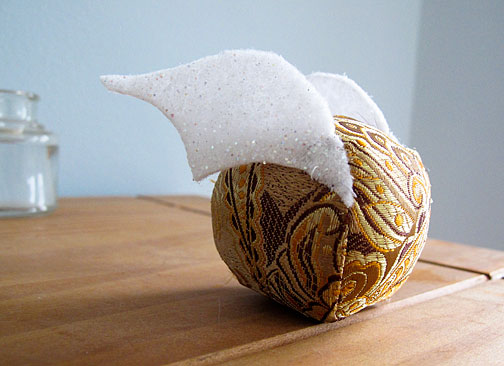
For the ball, I used a pattern in Abby Glassenberg’s new book, Stuffed Animals: from Concept to Construction. I will write a full review later (if there is one thing I HATE it is seeing “reviews” of craft books written by people who have not actually tried any of the projects), but I was so happy to stumble upon this ball pattern. I really liked how Abby shows several different ways of making the same shape _ I have made ball-shaped things before using the “orange peel” method … sewing a bunch of peel-shaped pieces together, but I liked the simplicity of the “baseball” method and thought it was perfect for this project because it doesn’t involve so many seams.
My first attempt did turn out a bit wonky, but when I tried again, and hand-basted the pieces together instead of pinning, it came out much better. I filled the ball with a combination of polyfil stuffing and rice, to give it a more bean-bag like heft. For Parker’s party, I’ll need to come up with a waterproof version, because he is planning a Quidditch match at our summer cabin, in the water!
|
|