Month: July 2011

  • Baby Quilt

    I made this quilt last weekend for my cousin who is having a baby girl in September. I used a free project at the Moda Bake Shop site, and a “layer cake” (10″ squares) that my friend gave me last Christmas. This project only required 20 10X10 squares, so I have some left over for something else. This pattern really looks much better if you use fabric that has more contrast. A lot of my squares kind of fade into each other. BUT, it is for a baby, so she probably won’t be too picky. (I know, babies DO like contrast, but you know what I mean.) This was my first time sewing the binding on by machine rather than hand-stitching the back. It was not a great success. I found it very hard to catch the binding evenly on the back. But again, it’s for a baby. I also had some trouble with the free-motion stippling quilting. At one point, after I changed bobbin thread, something must’ve been off because I quilted at least half the quilt before realizing that while the front looked fine, the stitching on the back was all loose and messed up, so I had to rip it all out.

    Other than that, this was a VERY easy and quick project, especially since I did not add the extra borders called for in the directions. I found that I could stack at least six layers and cut them all at once with a rotary cutter. My only quibble is that there is quite a bit of wasted fabric, and I feel like a project that calls for a specific size pre-cut of fabric should use as much as possible. So, after I finished this quilt I figured out a way to make similar blocks but using more of the fabric. With the original directions, you end up with 6-inch blocks (that end up as 5.5 inches once they’re sewn into the quilt top). With my new method, you end up with 9-inch blocks.

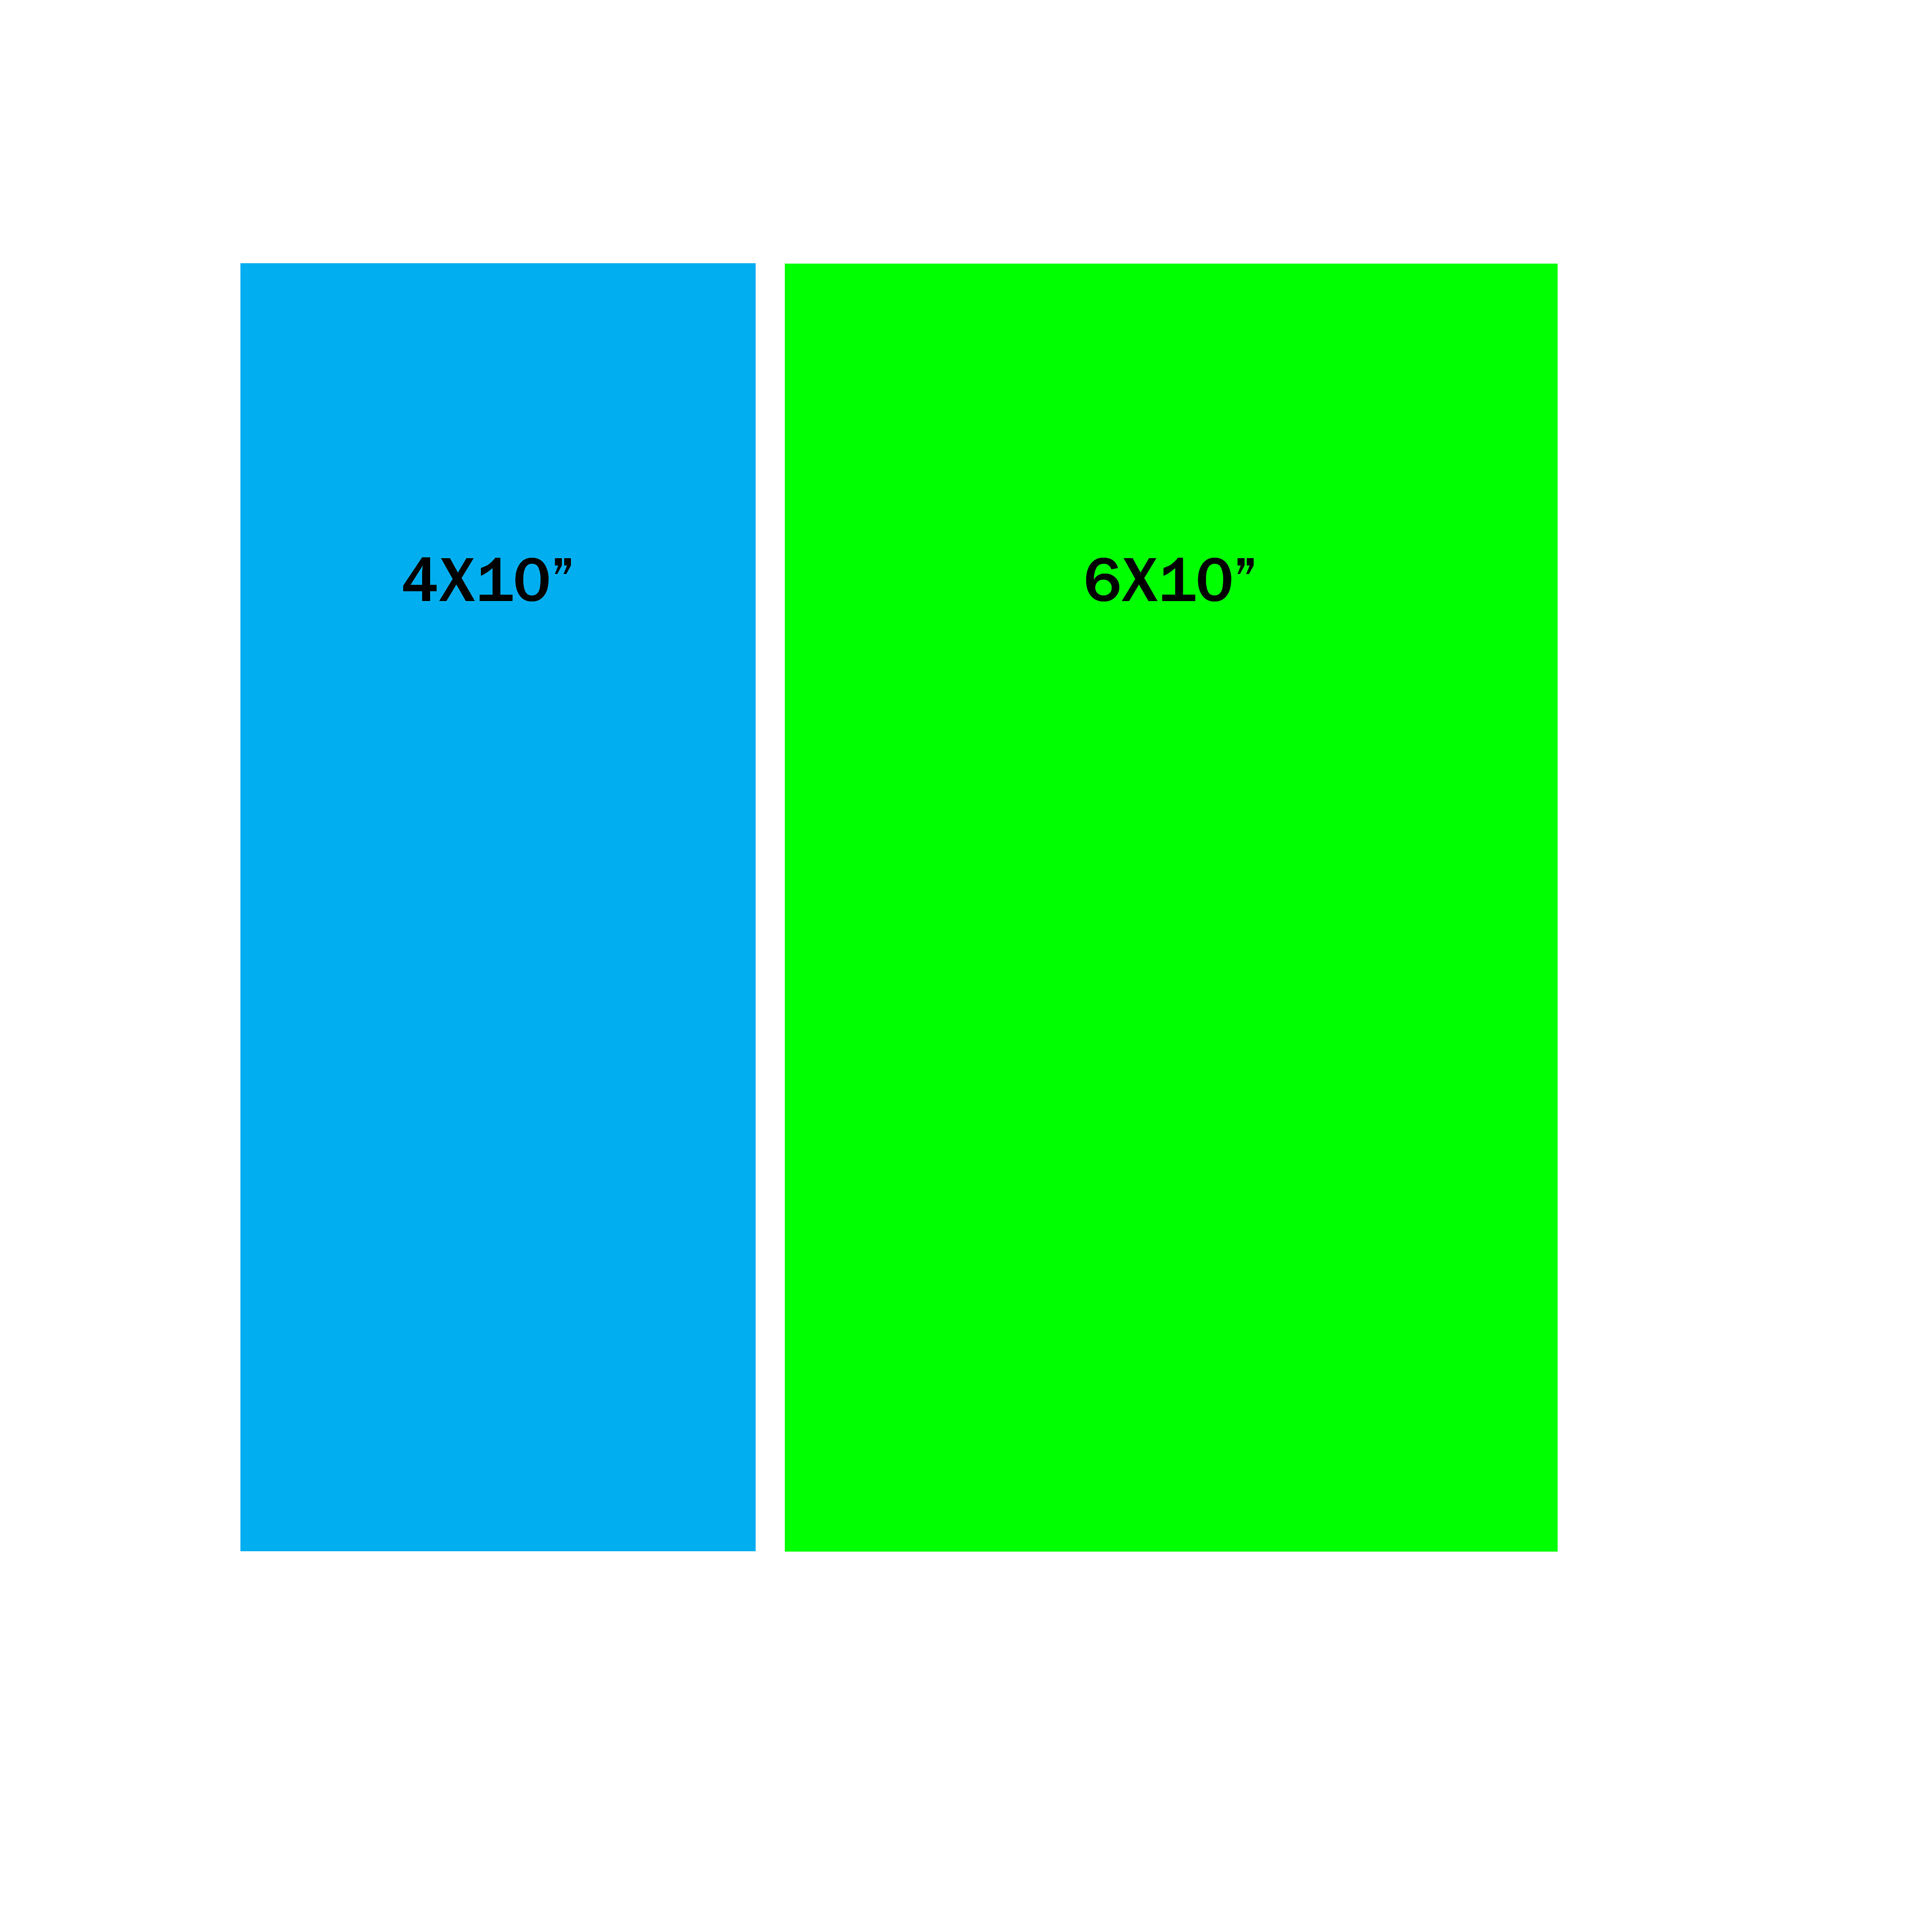
    Here’s how I would cut the 10″ squares if I was starting over:


  • Paris runway fashions


    Technically, these ARE runway fashions, since I made some of them on the plane on our way home from France! These were for my niece, who turned six this week. She has a nice little collection of Barbie doll clothes that my great-aunt made for me and my sister when we were little, and now that I’ve made this batch, I realize how much WORK went into those clothes! I used a few different patterns that I bought when they went on sale for $1.99 at Jo-Ann’s. They are almost entirely sewn by hand, except I did make tiny machine-stitched hems on pieces of fabric BEFORE I cut out the various pattern pieces, so I would have the legs of the pants, for example, already hemmed. Hand-sewing is not my strength, though I think I found this process easier than I would have had I tried to feed such tiny scraps through my machine.

    I also made my nephew, who just turned 7, a fort kit, like the one I made a few months ago. Again, I used the Silhouette machine to cut out the iron-on lettering/image for the bag. This time I used cheap flat sheets from IKEA, and some striped IKEA fabric for the bag.


  • Independence Day

    Still recovering from our wonderful trip, we had an equally wonderful day today with our friends and family. I had to work this morning, but since that involved following presidential candidates along a parade route, I at least got to enjoy being outside and celebrating the 4th of July. (of course, that also meant walking all the way back to my car when the parade was over). Then headed home for a cookout with my husband’s family and several of my son’s friends and their families. My husband’s burgers and potato salad featuring his hand-cured bacon were amazing, and my contribution wasn’t bad either:

    I tried to make a seven-minute frosting, which failed miserably, so at the last second I had to make some buttercream. I got the idea from Glorious Treats, who got it from 17 and Baking. It actually was not difficult, though it was time consuming. (I made the cakes a day ahead). Not in a million years would I have figured out on my own how to get that effect, but really it just involves tinting the cake layers and cutting a circle out of certain layers using a cookie cutter. I’m already looking forward to bringing some to work tomorrow!